Browsing Category

Beauty

Beauty/ Frugal/ HEALTH/ HOME/ Natural Products

Coconut Oil as a Moisturizer + 6 More Ways I Use it in my Beauty Routine

I am a HUGE fan of coconut oil, for many reasons, but today I’m just going to focus on why I love coconut oil for my skin.  I have been using it in place of lotion as a body moisturizer for about a year now and I LOVE IT!  

The main reason I started doing this was because I read about how so many body lotions contain parabens and chemicals, and with my cancer history, I am being very purposeful about getting rid of as many toxins in this house and on my body as possible! 

Its been all over the news that they are finding parabens in the breast cancer survivors breast tissue.  My ears perked up with this because I have been in the beauty business for years as a cosmetologist, and parabans seem to be in EVERY beauty product.  I have also met way too many young hairstylists that also battled breast cancer, and it has made us all say “hmm.”
Parabens are a group of compounds widely used as antimicrobial preservatives in food, pharmaceutical and cosmetic products, including underarm deodorants. Parabens are absorbed through intact skin and from the gastrointestinal tract and blood.
Measurable concentrations of six different parabens have been identified in biopsy samples from breast tumors (Darbre, 2004). The particular parabens were found in relative concentrations that closely parallel their use in the synthesis of cosmetic products (Rastogi, 1995). Parabens have also been found in almost all urine samples examined from a demographically diverse sample of U.S. adults (Ye, 2006a).
Parabens are estrogen mimickers, with the potency of the agonistic response being related to the chemical structure (Darbre, 2008). They can bind to the cellular estrogen receptor (Routledge, 1998). They also increase the expression of many genes that are usually regulated by estradiol and cause human breast tumor cells (MCF-7 cells) to grow and proliferate in vitro (Byford, 2002; Pugazhendhi, 2007). Nevertheless, parabens as a class do not fully mimic estradiol in the changes in cellular gene expression nor are the effects of all parabens identical (Sadler, 2009).
    Parabens are estrogen mimickers.”  This really made me pause, as my cancer and the majority of breast cancers are fed by hormones.  I had symptoms of estrogen dominance for years and I often wonder if this contributed to my diagnosis.
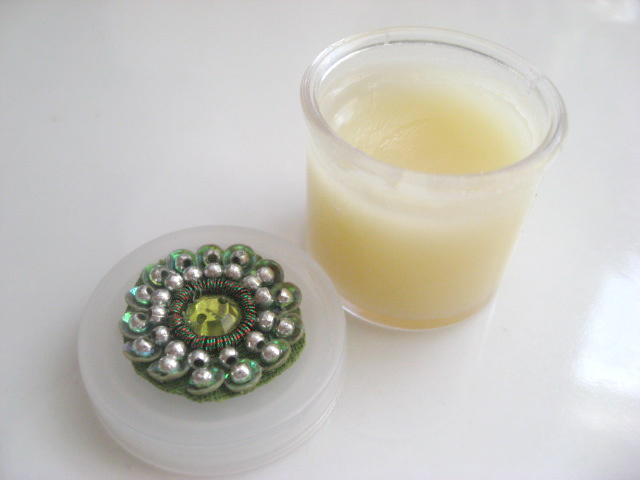
    As I have been trying to avoid parabens, I have been on a kick of making my own beauty products. There are some wonderful healthy organic body products out there, but they usually end up costing “an arm and a leg,” so have been quite motivated to make my own or to figure out a simple, inexpensive & healthy alternative. 
    {even the Stars use it!}
    Here are a few ways I have been using coconut oil on my skin:
    1. I use it to shave.  I wrote about this here.  I can’t tell you how wonderful it is to shave with a natural product.  I no longer have bumps, and my pores are nice and small now.  No irritation!  It makes sense…when I read what is in those cans of shaving cream, I am not surprised that my skin reacts with little bumps and irritation!  Especially when one slathers it on, then takes a razor that makes little nicks in the skin for those irritants to penetrate even deeper.  Blech.

    {my fav razor is a Mach 3 Gillette.  I have been using it for years.  Even with all the fancy smancy lady like razors out there, I still prefer my Gillette.  Yes, the refill blades are expensive, but they last forever and I love how close of a shave I get with this razor!  Plus, I have a thing for black and silver…}
    2. I use it as body oil to slather on while still in the shower.  This is my last step of my shower.  Then when I towel off I am super soft and there is no need for body moisturizer.
    3. I use it as a body moisturizer.  On days I do not shower or use it in the shower, I will use it in place of lotion.  Especially on my legs before a hot date with my Todd.  It gives a great glow.
    4.  Just recently, I have been using it as a facial cleanser.  Yep, you read that right.  It is called the “oil cleansing method.”  You can read about it here at Sorta Crunchy.  The whole idea of it is that cleansers strip moisture, and then your body over produces oil to make up for it, which leads to breakouts and unbalanced skin. The idea that oil dissolves oil is key with the oil cleaning method.  I have done this for about a week and my face is more clear than it has been for months…I am amazed.  I am also amazed at how moisturized my skin is.   Moisturized skin is plump skin, which helps with the appearance of lines. I will be writing a whole post on this after I have used this method a bit longer.  
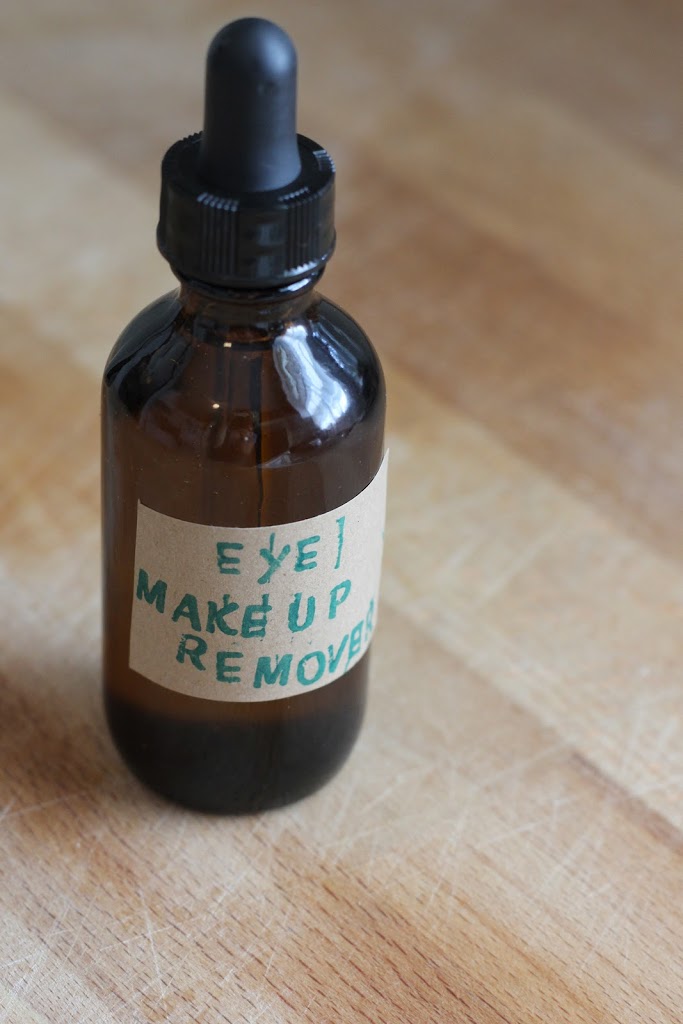
    5. I have been using it as an eye make up remover.  I wrote a post on Homemade Eye Makeup Remover, and talked about a recipe that used olive oil.  Well, I am all about simplifying, and since I am already using coconut oil to wash my face, I also started using it to wipe away eye makeup.  It works beautifully.  
    6. I use it as a cuticle oil.  Occasionally, when I have extra on my hands, I will rub it into my cuticles.  No more hangnails!

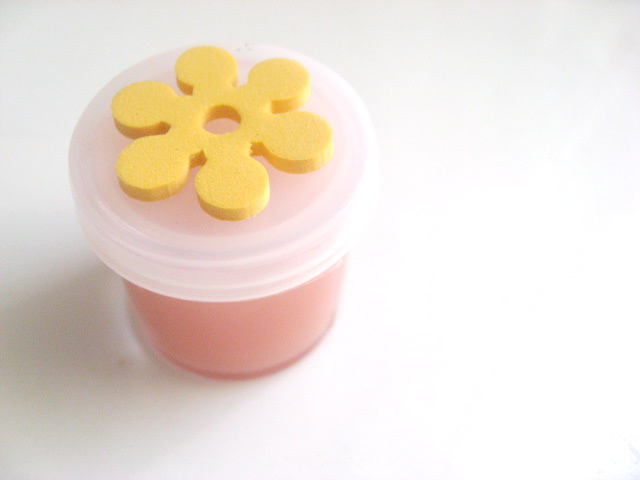
    7. I use it at a key ingredients in my Homemade Coconut Lime Sugar Scrub.  This is one of my most FAVORITE beauty products.  Love!

    Pretty impressive, huh?  Think of the money I am saving by not buying eye makeup remover, shaving cream, body lotions (lets face it, us women usually have at least 5 different types sitting around!), face moisturizer, cuticle oil & body scrub!  Think of the space I am saving in my home by having one jar of coconut oil instead of 10 bottles of all these products!
    That makes me VERY happy!
    //

    –I buy a large container on Amazon, I love the Nutiva brand.  It is organic and wonderful.  Trader Joes also started carrying coconut oil.  Yay!
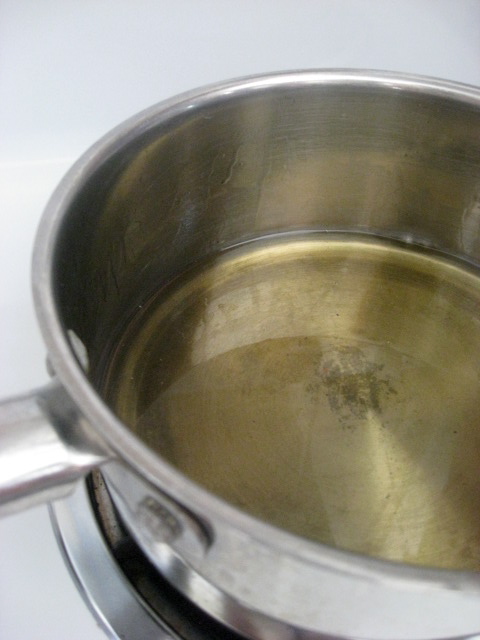
    –Coconut oil is very unique.  It is a solid up to I think 76 degrees, then becomes a liquid.  So depending on the temperature of your house, you will either be scooping the oil if solid, or pouring it if liquid.  
    –I use coconut oil in recipes, like this one, the Best Recipe I Ever Messed Up.  For beauty purposes, I scoop some out and store in a small 8 oz mason jar.  I love the Elite series glass jars.  They have a nice wide mouth and are a cute shape.  I also keep coconut oil in a small 4oz jar to throw into my gym bag.

    Beauty

    Medium Length Hairstyles

    {can you tell which pictures are self portraits taken in the middle of a coffee shop?  Look for the no smile awkward look;}

    In two years, my hair has grown from balder than bald to a medium shoulder length.  It is fun having hair again! I recently got my haircut by Mandy at Tangerine, and I love it.  She cut the back up a bit and did a slight angle down to the front pieces.  I have decided to go without bangs for awhile, which is different for me.  I have a high forehead that really looks better with bangs, but sometimes a girl just has to mix it up a bit.  Although I love the cut, I’m finding myself in a rut with this in-between length. I decided to search Pinterest for some inspiration and here is what I found!

    Did you know you can add curls/waves with a flat iron?  Above is a video that shows you how.  She shows how to add true curls.  I wind mine a bit more loose and do not hold it on the heat as long, as I am just adding to what I already have and don’t want such a set curled look.  
    Kate from The Small Things blog, is my most favorite hair blogger EVER! She has many great ways to style hair, has great video tutorials, and even though I’m a professional hair stylist, I still learn from her!  If you click through, she has a ton of medium length styles. She is my ultimate hair inspiration blog, and my go-to place when I am in a rut, second only to my Pinterest boards.

    Speaking of Pinboards, here is my Medium Length Hairstyles board.  Click through for more medium hair style ideas.
    You might also want to check out my Hair How-To boards, for How-To hairstyles for every hair type.

    Beauty/ Frugal/ HEALTH/ HOME/ How-Tos/ RECIPES

    Homemade Organic Eye Makeup Remover–Only 2 Ingredients!

    I have never really been one to use eye makeup remover.  I usually would just wash my face and slap on moisturizer, then use a tissue + whatever moisturizer was on my face to swipe away the smudges.  But, as I am getting older, I really want to be more gentle with the sensitive skin around my eyes, and scrubbing off smudges just is not gentle.

    I was excited to have Pot Holes & Pantyhose link up her DIY Organic Eye Makeup Remover at Anti-Procrastination Tuesday.  It is a simple, 2- ingredient, super pure and healthy recipe.  I made it myself and I am loving it!  Not only does it remove my eye make up beautifully, but it moisturizes the fragile skin around my eyes with wonderful, gentle organic ingredients.  I LOVE IT!

    I found this little bottle at my local heath food store.  Same with the Almond Oil.  I have been finding all kinds of fun DIY beauty recipes that I will be trying, so in the future I am planning on using Mountain Rose Herbs as my one stop shop for organic ingredients and containers.

    Mountain Rose Herbs. A herbs, health and harmony c

    They carry all kinds of essential oils and butters.  They also have almond oil.  They have a wonderful reputation, so I feel very confident sharing their store with you all!
    ________________

    Homemade Organic Eye Makeup Remover
    {recipe makes 3.5 ounces}

    4 TBLS Organic Extra Virgin Olive Oil
    3 TBLS Organic Almond Oil

    Using a funnel, pour ingredients into a container of your choice.  Use a small amount on a tissue or cotton ball and wipe that makeup away!

    _________________

    Potholes and Pantyhose has the breakdown of the cost of this.  Let’s just say it is super cheap, especially compared to similar products in the store.  I am excited to have Almond Oil on hand as I am stumbling upon some great recipes that use it.  More to come!

    Beauty

    Sparkles On My Nails

    I have a new nail polish that I have had much fun with lately.  It is silver glitter, and it makes any color you put it over sparkle!  I bought it to put on top of black for glitzy New Year’s Eve nails.  This look gets lots of compliments, and makes me feel like my nails are an accessory.  They almost look like jewelry.

    Silver glitter polish on top of black polish.
    Excuse the PDA, these were the only photos I could find of my black/glitter nails!
    Hee. Hee.

    I tried it over turquoise, and it was a fun effect.  I like that it toned down the brightness of the turquoise.

     I don’t wear nail polish often.  I am trying to go more natural and leave chemicals off my body.  I will be talking more about this in coming posts, like what I now use as lotion and face wash.  I love the challenge of finding natural, inexpensive products that are good for the body and our health.

    I DO love polished nails for special occasions and date nights.  I also REALLY like my toes polished in the summer, during flip flop and sandal season.  I have fun with toe polish during the summer, but keep them free and naked throughout the fall and winter.

    I noticed my health food store had some nail polish that had more natural ingredients, so I will be checking those out soon.  Have any of you tried these?

    In the meantime, I will continue to have fun with sparkles, especially if that man of mine takes me out!!

    Base Coat

    2 Coats of Turquoise
    1 Coat Glitter Polish
    1 Top Coat

    Beauty/ DIY/Crafts/ FUN/DIY

    Homemade Natural Lip Balm

    There is so much that I love about this little project of Homemade Natural Lip Balm!

    ~It is easy

    ~It is natural

    ~Can be made with no artificial ingredients, colors, preservatives

    ~It really works!

    ~It feels great on the lips

    ~It can be made all organic if you so desire

    ~It made my girls think I was mom of the year!


    The recipe is very simple:


    Homemade Natural Lip Balm
    click on ingredients to purchase from Amazon –*affiliate links


    3 tablespoons Coconut Oil

    3 tablespoon Shea Butter

    3 tablespoons Cocoa Butter 

    3 tablespoons Beeswax 


    ~If you want color, add a bit of your favorite lipstick to the mix.

    ~If you want flavor, add a bit of candy flavoring to the mix.

    Put all ingredients into a pan.  Melt on low.  Spoon into containers.  Let set.  It takes just minutes, depending on the size of your container, to set up.


    I found all the ingredients at one of our local health food stores.

    I found our containers at Hobby Lobby.

    I found the candy flavoring at Walmart, but I am sure they have it at Hobby Lobby, too.


    The containers were found in the art supply section of Hobby Lobby.  I was super excited to find the little square containers, but super disappointed when we brought them home.  I didn’t realize they were stackables, so we only had 4 lids because I bought 2 packages, there were 2 stacks in each package.   That was disappointing, since I thought I was getting about 12 containers with 12 lids.  Instead, we have a bunch of leftover, empty containers that stack.  Grr.


    I am SUPER pleased with how it turned out.  I can’t stand paying what health food stores charge for natural lip balm, so I love that I can make it myself.

    My girls really got into this and kept saying what a fun project it was.  Next time, I will order some containers Amazon, like this Lip Balm Container, and I will skip the flavoring/coloring.  The cocoa butter/coconut oil gives such a nice scent, and I like the idea of keeping it super natural.  Also, by keeping it natural, you can talk the man in your life out of his yucky Chapstick an into this awesome Natural Lip Balm, minus the girly embellishment on top, of course.

     This recipe made quite a bit of lip balm.  It makes 12 tablespoons, so if each container contains a tablespoon, that is 12 whole containers of lip balm!

    I am planning on storing the lip balm we are not using in the refrigerator.  I am not sure if that is necessary, but it may help prolong the life of the lip balm since it is all natural ingredients and no preservatives.

    We found cute little embellishments for the tops of our containers and used a glue gun to glue them on.  You can also use stickers.


    This would be a great fun at a little girls birthday party or a dress up party!

    Enjoy!

    More From New Nostalgia


    Beauty/ Frugal/ HEALTH/ HOME

    5 Reasons Why You Should Dry Brush Your Skin


    Why Dry Brush

    1. It softens the skin.  
    I remember taking a facial class (I’m a cosmetologist), where the instructor had been an esthetician for 15 years.  She told us about dry brushing and had us each come up and feel the skin on her arm.  She was in her 50’s, but her skin was as soft as a babies butt!  I was amazed.  She gave all the credit to dry brushing daily.

    2. It is a simplistic, inexpensive approach to healthier skin
    I love that you can gain great results without expensive potions and treatments.

    3. It stimulates the lymphatic system.
    After my cancer treatment, I saw a physical therapist who did lymphatic drainage massage on me to help prevent lymphedema.  I was intrigued by how gently she massaged, sweeping soft strokes across my skin, all towards the heart.  This was my first experience with lymphatic massage and I was always amazed at how I needed to immediately use the restroom after lymphatic drainage massage.  My therapist said that was a great indication that she had done her job, stimulating lymph fluid to be released.  She suggested I dry brush at home, in the same manner, to continue to keep my lymph canals to drain properly, which is detoxifying to the body.

    4. It helps with ingrown hairs.
    No more razor burn bumps or ingrown hair bumps.  The combination of dry brushing and shaving with a good, natural soap was the answer for me.

    5. It sloughs off dead skin.

    I used to struggle with small bumps on the back of my arms and on my legs.  Not anymore.  Dry brushing and again, using a natural soap from my local health food store did the trick.  Makes me happy!

    6. It feels good!
    It is amazing how good it feels to dry brush skin.  Especially if you have itchy, dry skin. It is great early in the morning right before my shower..it helps wake me up!


     How To Dry Brush:

    1. Purchase a natural bristle brush. Not synthetic.  Ideally with a long handle.

    2. Perform dry brushing before your shower while dry and naked (or nudie, as my girls say)

    3. Work in long, upward strokes toward the heart.

    4. Use whatever pressure is most comfortable for you.

    5. Avoid sensitive areas and anywhere the skin is broken

    6. After dry brushing your skin, rinse off in the shower.

    7. Don’t forget to wash your brush using soap and water once a week.  Hang to dry.

    Top