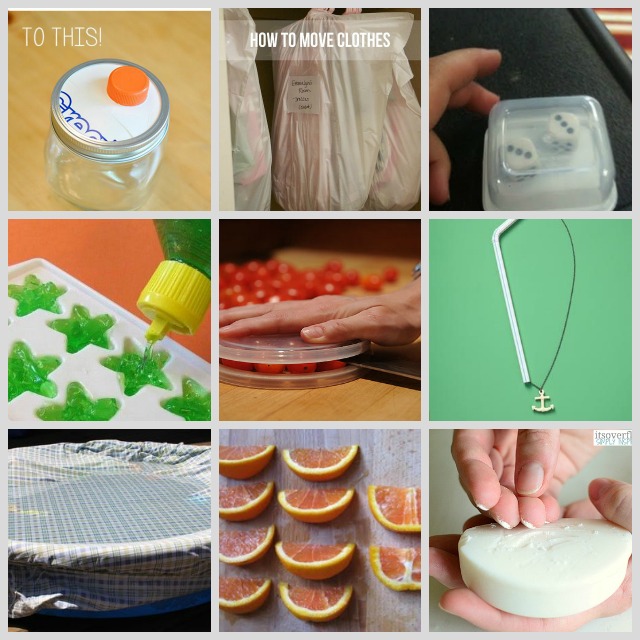
1. DIY mason jar dispenser from a juice carton {source}
2. An easy way to move clothes. {source}
3. Shake dice without losing them. Great for car trips! {source}
4. Aloe Vera ice cubes to soothe a sunburn. I’d use 100% aloe gel with no artificial color. {source}
5. A hack for slicing cherry tomatoes. Brilliant! {source}
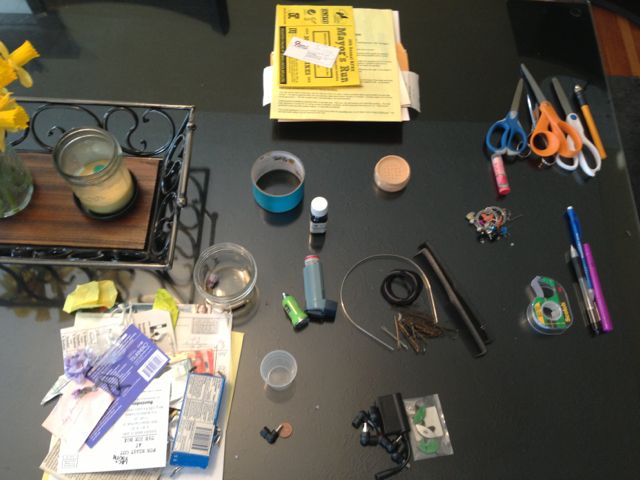
6. Plastic drinking straw as necklace knot preventer. Use when packing jewelry for a trip. {source}
7. Use a fitted sheet to keep kiddie pool free of bugs and leaves. {source}
8. The best way to cut an orange. Keep the pithy stuff all in one slice. {source}
9. Keep nails clean while gardening by rubbing on a bar of soap. {source}
……………..

Simple Lemon water. Simple fruit infused water. Check out this Zing Anything Bundle. Infuse drinks with fruit and herbs, keep lemon in bottle. Get yours here —>http://amzn.to/12VMwD1 Read about how I use mine daily here—>http://bit.ly/Xf7uiy

Want to be eco-friendly but not have to mess with cloth diapers? Then check out The Honest Company. Jessica Alba is the founder and is passionate about bringing non-toxic personal products & cleaners to your home. Click diaper image above to learn more!