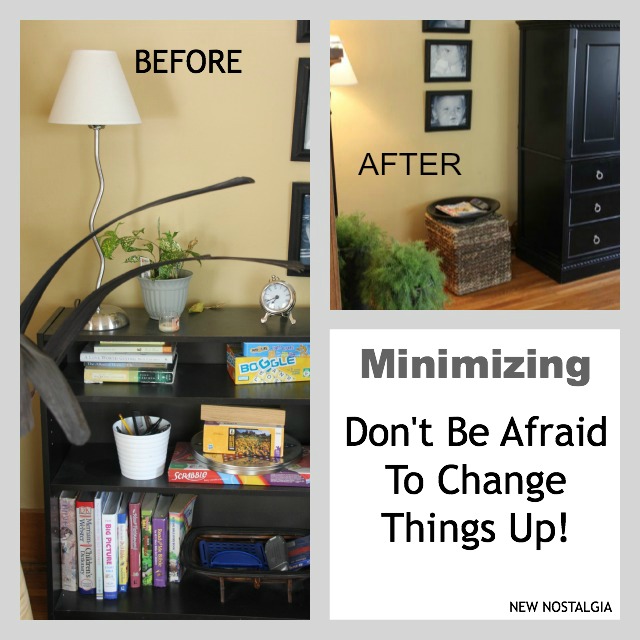
We are halfway through a minimalizing series here at New Nostalgia. I have loved every minute of it…truly! I cannot tell you the difference it is making in our home. I have done the below spaces, plus 2 teen rooms, my lil’ ones room, my room & our kitchen. I have yet to put those posts together for you, but I can’t wait to share with you! I also can’t wait to show you our landing are upstairs. It has become the catch all place, and it is a danger zone! A complete wreck. But..the rest of the house is looking great and I will get area at the very last.
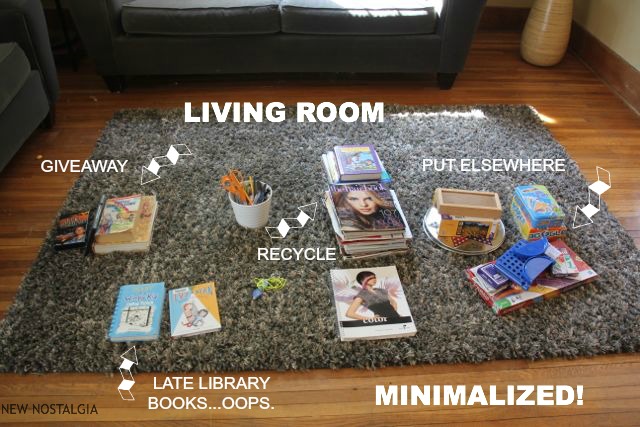
It is summer break and I actually feel like I am on break! REALLY. I am not spending my days clearing clutter, dusting clutter, putting away clutter thanks to the work I put in the last few weeks. Now I am on a slow pace now that most of the house has been done. We have taken 3 jeep loads of stuff to the local Goodwill and I have about one more left. I can’t believe we had that much stuff as I am one who gets rid of stuff quite regularly. But, when looking at things in my house through a minimalist eye, asking myself..”do I really want to dust this?” “Do I love this enough to deal with it on a daily basis?”.. it really makes a difference in what I keep and what I don’t. This also applies to what I buy. Even if it is on sale, is it important enough and special enough to take my precious time on this earth dealing with it? Yeah, sales seem less appealing now, for sure.
My Minimalizing Series-we are halfway there!


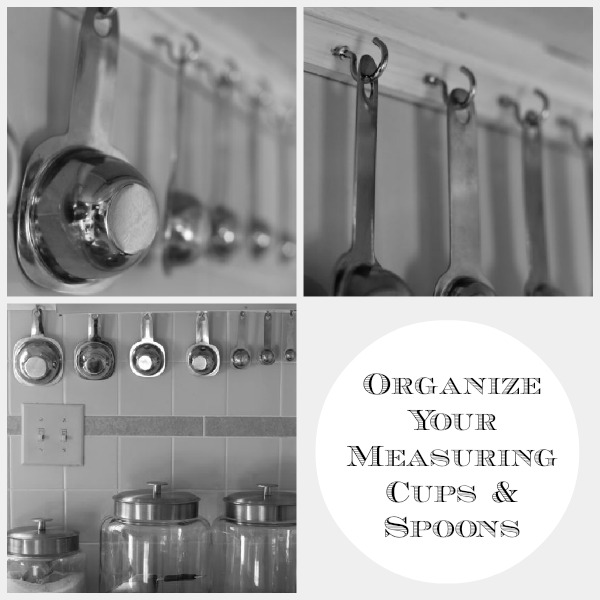
Some posts on organization:

_____________