Browsing Category

Frugal

Frugal/ FUN/DIY/ HOME/ Seasonal

Going Green Packages And Toppers Part 2

I just keep stumbling upon great ideas, so I had to make a part 2!

Twist Tie Package Toppers
These are from a site called Nice Package.  I love their simple approach to making things beautiful.   They have an etsy shop where you can buy product to make your packages look wonderful. I like that I won’t have to buy anything to make these little Twist Tie Pom Poms.  I have a bunch of twist ties in the bottom of the bin we use to keep baggies, foil and trash bags.  I never use them, so they have piled up.  Now I know what to do with them!  There is a video tutorial, so check out their site!
Plastic Grocery Bag Pom Pom Gift Topper
This is just lovely.  I have a bunch of clear produce bags that I think would make a pretty cool pom pom.  I love the one above, made from Target bags.   Creature Comforts has a tutorial with really great pictures.
Gift Bags Made From Envelopes
These bags are another brilliant idea from “How About Orange…”  I think this may be my favorite.  I often find myself needing a bag for “just a lil’ somethin'” type gift.  I love giving small little gifts away throughout the year to let people know I am thinking of them.  These cute bags would make a small gift just a bit more special. There are so many things you could do to decorate them!  My girls love to make gifts for each other and are always getting into my wrapping bin, so I am excited to show them how to make these and see what how creative they get in the process!


Frugal/ FUN/DIY/ HOME/ Seasonal

“Going Green” Packages and Toppers

I just wrote a post about using recyclable products to wrap Christmas gifts.  I am using grocery bags for most of my wrapping this year, and the little gift card holders above will fit right in with my theme! They are so simple and cute.  I have random ribbon in my craft bin and alphabet stamps, so I am set!  I drew my sisters name for Christmas, and we both agreed that I will buy her an itunes gift card.  DON’T YOU JUST LOVE THAT?  I love sisters. I ask, she tells, done deal. She tried to talk me into just doing it online and skipping the gift card to make it easier on me (isn’t she great?  aw.) but I think she deserves one of these cute little homemade packages with her itunes card tucked safely inside.
Another thing to make with my grocery bags!
I don’t know if these were made out of recyclable materials, but they are inexpensive.  I have a tradition with family to stamp these tags every year.  The ink and stamp change yearly, its fun to anticipate what its going to be each year.
Ohhhh! I like, I like!  I am a sucker for anything polka dot or round.  My kids would have a blast punching all these little dots.  I may even spray my brown paper bag wrapped packages with adhesive and sprinkle them on!  It’s a party on a package!!
How very cool is this?  It is wrapped with newspaper (or phonebook page?) and the bow is made with strips of a magazine page.  Now that is what I’m talkin’ about!  Click here for detailed instructions from “How About Orange…”

The next 3 ideas are from this book, “Simply Green Giving” by Danny Seo.  I have already talked about this awesome book in my last post.  Looky at what else is in it..

Fun, right?  I have a ton some of these ancient VHS tapes laying around.  They are gonna get re-used this Christmas!  My kids will love pulling that stuff out, at least they did when they were toddlers!

This is so very brilliant.  How cute is that bow?  Guess what?  It smells good, too!
I love a good smell, so a smelly bow really got me excited!!
This bow is made from strips of perfume samples in magazines. Cut, staple, curl.
 Hmm.
Now that I think about it, I wonder how that will smell, mixing all of those perfumes?
It could be good, but it could also be very, very bad!  Oh well, still a very fun idea!

Cut off sleeve, wrap present.  Tie with ribbon.  Lovely.
Ok. This one is in honor of my Sushi-loving sisters.
 They have tried and tried to get me to like sushi, but…
 IT’S JUST NOT HAPPENING!
I gave it a good shot, and still get nauseous every time I think about it.
Seaweed is so very good for you, I really do wish I liked it!  Grrr.
These little sushi guys are pretty darn cute.
How fun would this be with a gift card to a sushi restaurant inside?  Wanna make em’? Click here.


Frugal/ FUN/DIY/ HOME/ Seasonal

Brown Paper Grocery Bag Gift Wrap

Whenever I forget to take my reusable grocery bags to the grocery store with me, (which for some reason has been often lately, I think I need to keep them in my car!)  I use paper grocery bags.  I’ve been at peace with my forgetfulness lately, because I am going to use the bags as wrapping paper this Christmas!  I am determined to be as wise with our money as possible this Christmas season, so this will help us save.  If you have not been collecting grocery bags, you can also by brown kraft paper or shipping paper by the roll, it is very inexpensive made from recycled materials!

I have all kinds of ideas to make our packages pretty.  My tree will be covered with silver, black, and lots of shiny metallic/mirrored ornaments that we made last year.   I worried about how the organic looking brown paper would look with a more glitzy tree, but I think if I add black, white and silver elements to our packages, it will mesh just fine.

Another frugal and environmentally friendly way to wrap gifts is newspaper!  I think some black and white, newspaper-wrapped gifts under my tree to break up the brown would be beautious!  I plan to make them special with some shimmery, thick, black wire ribbon. Speaking of beautious, check out the bottles below wrapped in newspaper.  They cut the excess paper at the top into strips and curled it!  This idea came from a really great book called “Simply Green Giving” by Danny Seo.  I found his book at the library, it is full of awesomeness.

For smaller gifts, I will be using either brown paper lunch sacks or pages from a magazine.  Those photos in magazines are taking by some of the most talented photographers out there, so why not use them as beautiful gift wrap?

I plan on putting my 3 little artists to work, I can’t wait to see what they come up with! My oldest and I have already discussed some art ideas she wants to do.  She wants to use black paint and make a stick tree with lots of twigs, then add silver little circles as leaves!  Isn’t that brilliant?  She is so great.  The other two I’m sure will get busy with their silver glitter glue, stamps, markers, and stickers.
It’s gonna be fun!
*Update: To see the finished products, click here!

A post on package toppers is next so stay tuned!!

Frugal/ FUN/DIY/ HOME/ Seasonal

Halloween Fun!

We have been having a ton of halloween fun here at the Bowman House.  My girls just  LOVE all things spooky, and have been creating all kinds of spooky fun.  I am not one who is creative enough to come up with a project, so I depend heavily on FamilyFun.com!  It doesn’t matter what the season, the Family Fun website always has great, simple ideas.

Here are a few that we tried recently:

Salt Dough Ghosts and Paper Bag Trees
I can’t believe we have never made anything with salt dough before!  It is a cup of flour, cup of salt and a half of a cup of water.  Mold into any shape and microwave until hardened!  So easy!  The plan was to just create ghosts, but my girls wanted to get more creative, which was great, it kept them busy the entire evening.  The paper bag tree is a cute idea, but all that twisting left my wrists tired, so we decided to make just one!  I think making mini trees with brown paper lunch bags would be much better for little fingers and wimpy wrists.

Gotta have a snack in the middle of all this creepy craziness!  Apples and Almonds, can’t get much healthier than that!

These were so much fun!  My girls spent almost 2 hours at the table creating these, and every few minutes there would be a trio of giggles drifting from the dining room.  They just loved finding silly face parts to glue on to their bags.  Aren’t they funny?

What would I do without Family Fun?  What did moms do without computers back in the day?  I am very thankful for ours, its kinda SCARY thinking about doing life without it!

BOO!

Brunch/ Frugal/ HOME/ RECIPES/ Seasonal

Easy One Bowl Pumpkin Bread/Muffins

I have made this Easy One Bowl Pumpkin Bread/Muffin recipe TWICE this week and I really love it.   It is a “dump all ingredients into one bowl in no certain order and stir” recipe, so it takes minutes to whip up.  It is super moist, makes the house smell like fall, and fills up little tummy’s when they need a snack.  Another great thing about this recipe is that it has a few different options to make the original recipe healthier.  Love that!
*For the healthier version, keep reading.

Easy One Bowl Pumpkin Bread/Muffins

1 ½ c. sugar                                        ½ t. cinnamon
2 eggs                                                     ½ t. nutmeg
¼ t. baking powder                           1 2/3 c. flour
1 t. baking soda                                  ½ c. oil
¾ t. salt                                                ½ c. cold water
½ t. cloves                                          1 c. pumpkin (about half a 15 oz can)
Mix all ingredients together in one bowl. Put in greased loaf pan or muffin tin.  Bake at 325 degrees.
  • Bread (one loaf) = 75-90 minutes
  • 12 Muffins = 45 minutes
  • 24 Mini muffins = 25 minutes

——————–

Cost:  about $1.50 !!!  
I was at my neighborhood natural market this weekend and they were selling freshly baked pumpkin bread for $7.99 a loaf!  That’s just craziness!!  They were skimpy little loaves, too.  I walked away smiling to myself, thinking about how I can go home and whip up a generous loaf of my own pumpkin bread that would be just as healthy as theirs!
——————–

Easy Ways to Make It Healthy:

  1. Level one: decrease the sugar by 1/4 or even 1/2 cup (1 c. sugar total) or use honey
  2. Level two:  use half whole wheat flour
  3. Level three:  make the “oil” melted butter or applesauce

One Bowl Pumpkin Muffins Healthy Remake

3/4 cup honey                                     ½ t. cinnamon
2 eggs                                                    ½ t. nutmeg
¼ t. baking powder                           1 2/3 c. whole wheat flour
1 t. baking soda                                  ½ c. coconut oil
¾ t. salt                                                1/4 c.water
½ t. cloves                                          1 c. pumpkin (about half a 15 oz can)
1 Tbs molasses
Mix all ingredients together in one bowl. Put in greased loaf pan or muffin tin.  Bake at 325 degrees.
Baking Change: Only bake muffins for 30 minutes – honey browns faster!
——————–
Both recipes call for only a half a can of pumpkin.  I wondered what to do with the other half, until I saw how quickly my family ate up the first loaf.  I made a second loaf the very next day.  You could double the recipe and freeze a loaf.  I knew we would be home quite a bit this weekend and I love to have something yummy baking in the oven, so I made the loaves on separate days.
 Tip: Make sure your spices are not dated and tired.  I could not believe the difference in my 2 loaves, the first one I made with spices I know have been in my cupboard since last fall, and although the texture was awesome, I wondered, “if the spices were super fresh, would taste any different?”
For the second loaf, I went to my market where they sell spices in bulk (you can help yourself to whatever amount you need and they charge you by weight).  DO THIS IF YOU CAN, the second loaf was amazing!  I love the buy spices in the bulk section option!

 I have been buying a small amount for whatever recipes I am going to make in the next week or two.  I did this for 2 recipes that I make all the time, chili and chicken curry, and both recipes tasted like they had a makeover, when all I did was buy super fresh spices.  It is very economical, and so very worth it!

Frugal/ HOME/ Homemaking/ Seasonal

Fall Decorating

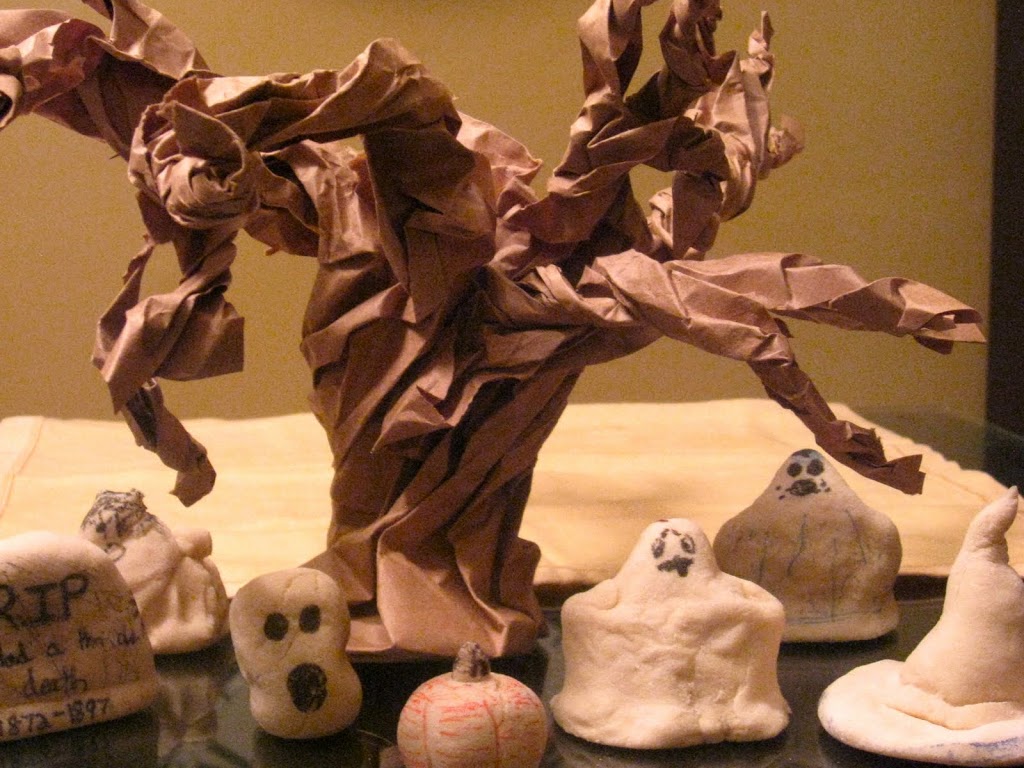
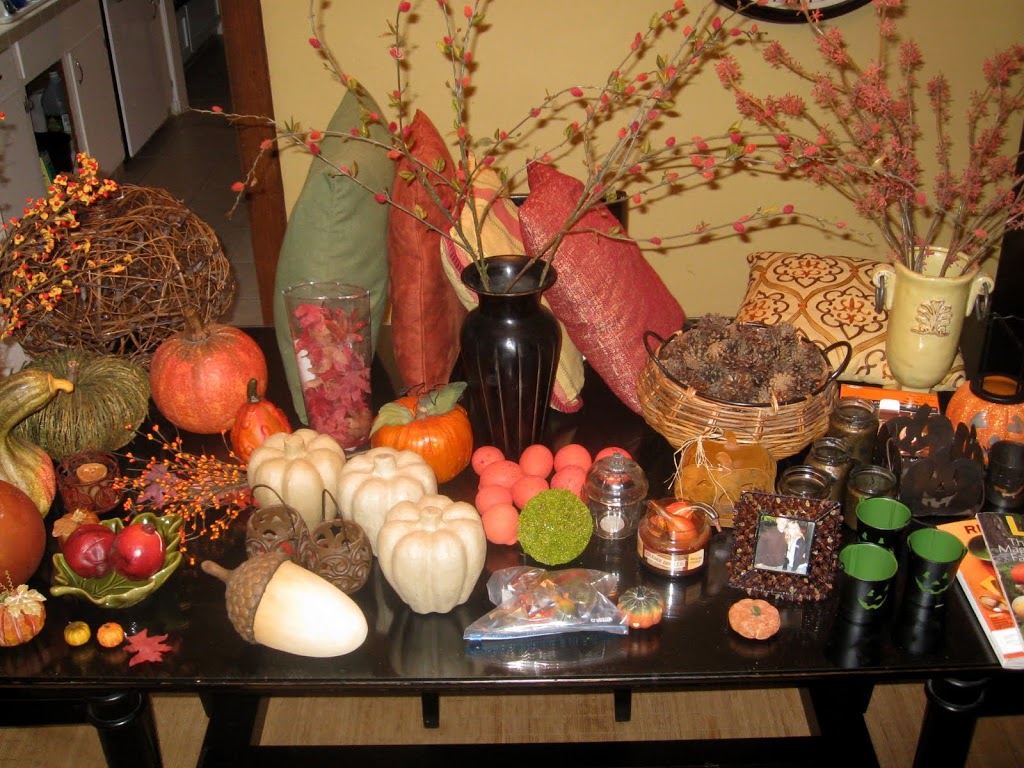
I finally got my fall decorations out this week.  I have been looking forward to digging the bin out of the attic closet and seeing what goodies were waiting for me.  Here is a picture of what was inside, boy it looks like a lot!  Don’t know if I can call it simple, but it was pretty easy to place things around the house, and I didn’t feel like I had to use everything, and got rid of stuff that didn’t excite me

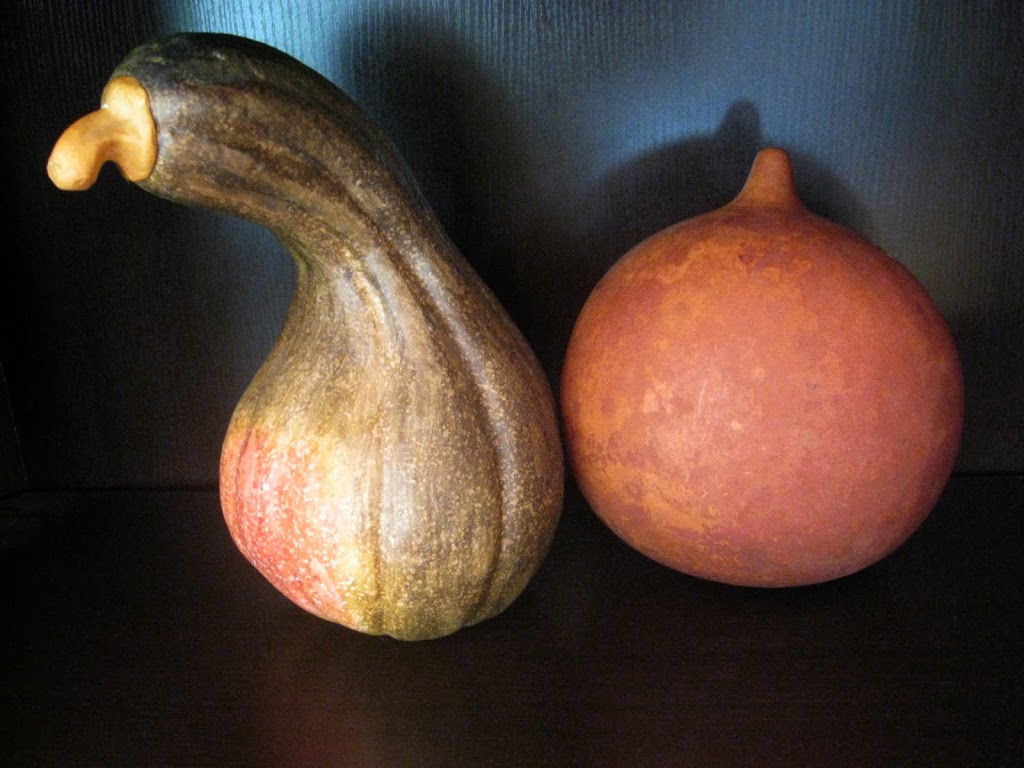
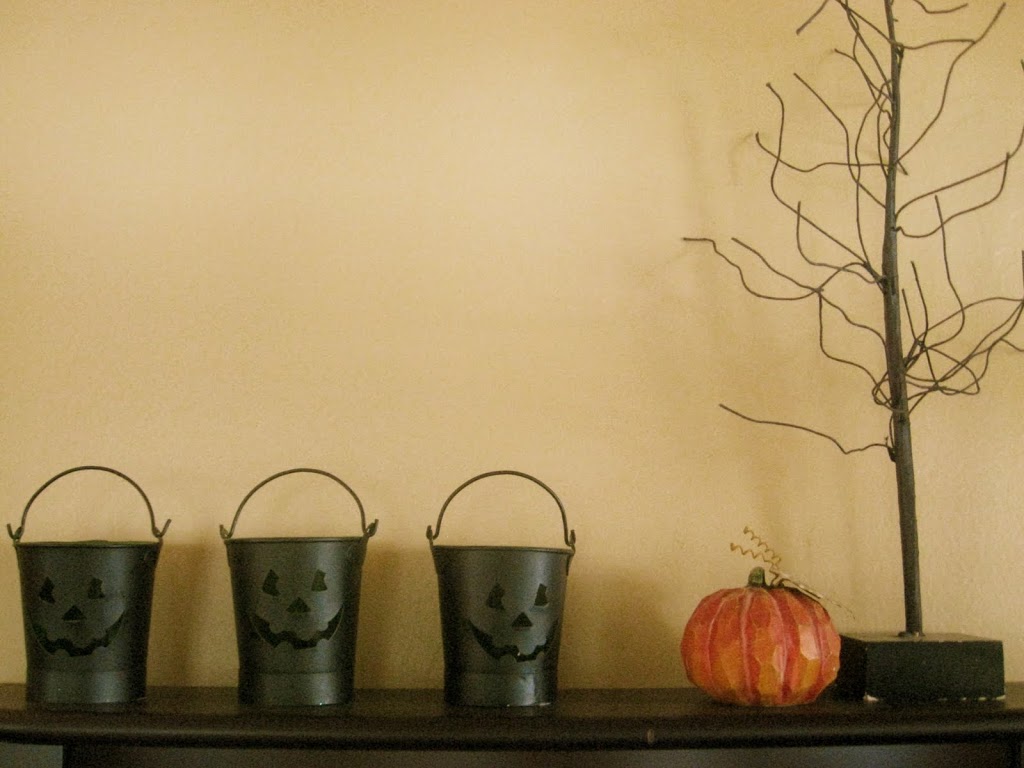
Fall decorating really can be done quite frugally.  It really just takes a few touches.  Even just a couple little pumpkins sitting around gives a festive feel. I did not buy a thing this year, over the 13 years we have been married, I have accumulated quite a bit, so I didn’t need to add more.  As much as I love the look of real pumpkins and gourds, it kills me just to have them sit there and get soft and thrown away after the season, so I didn’t buy any.

Here are some picture of what I did with that table- full of fall

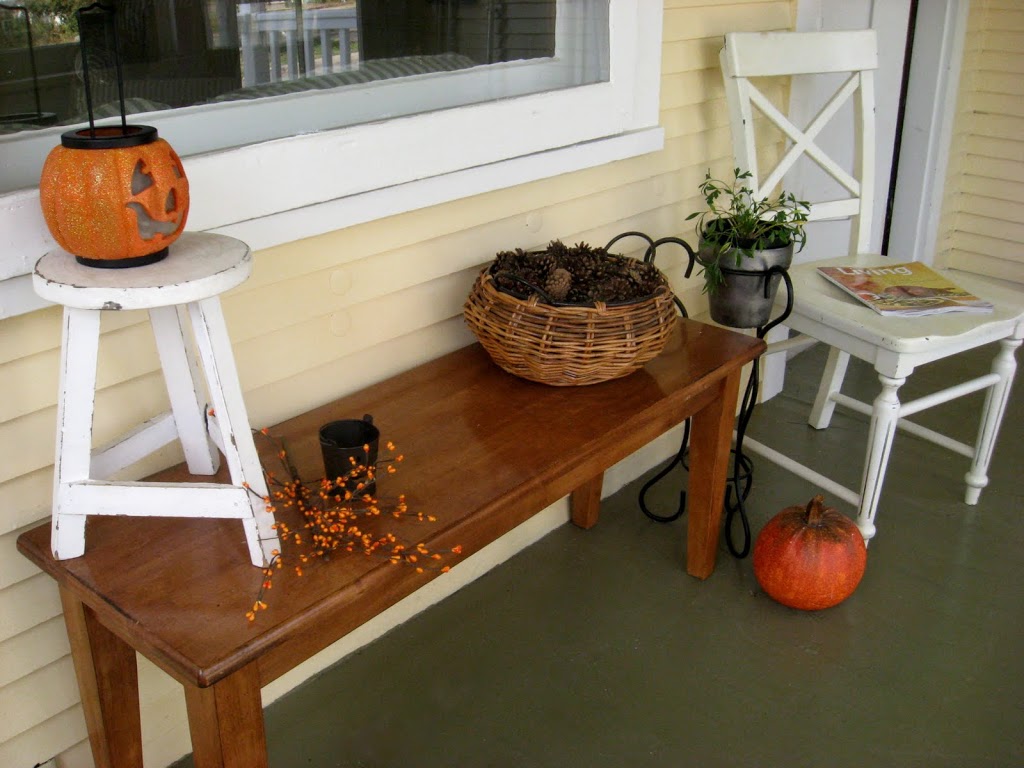
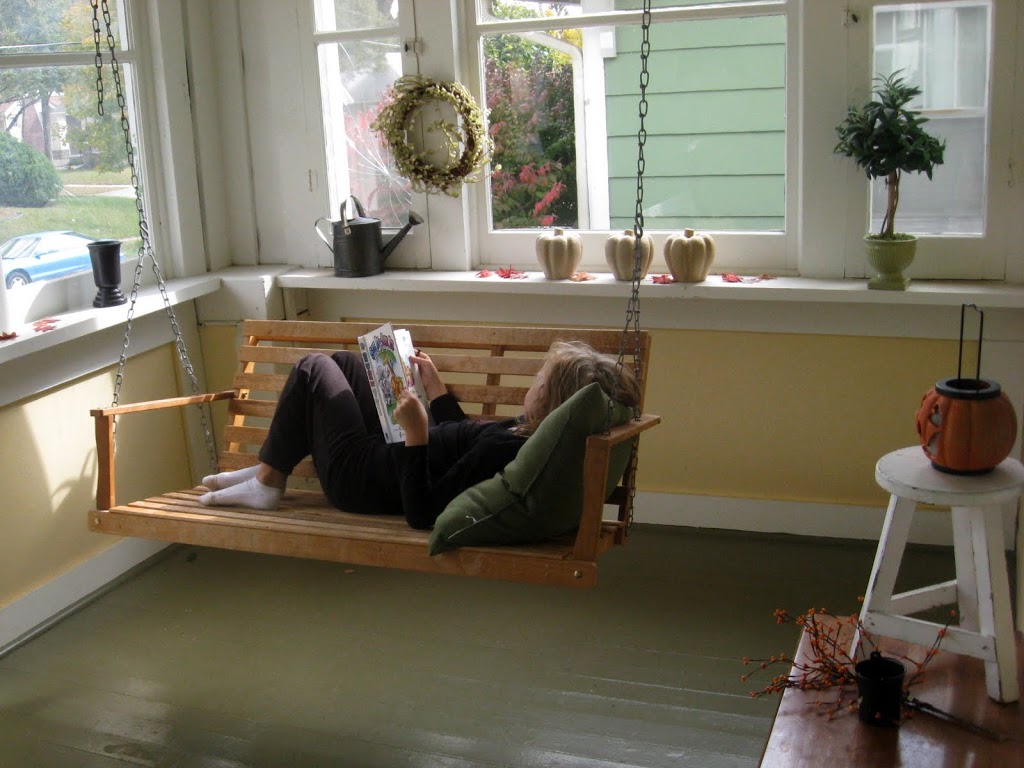
This is my sunroom.  It is fun to put seasonal decorations out there to greet my guests when they visit.
Notice the basket of pine cones.  Pine cones are a great way to decorate fugally.  I use them during the fall and keep them out for Christmas. I know people here in Nebraska who can just go right out to their own yard to gather pine cones.  Now that’s cheap!

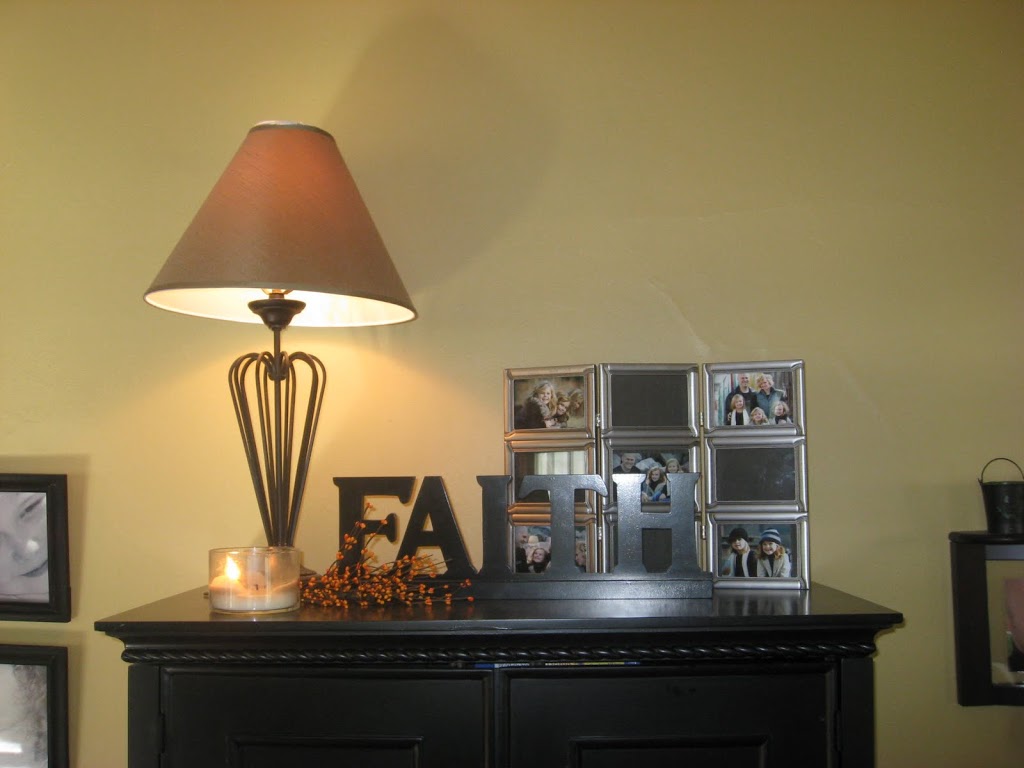
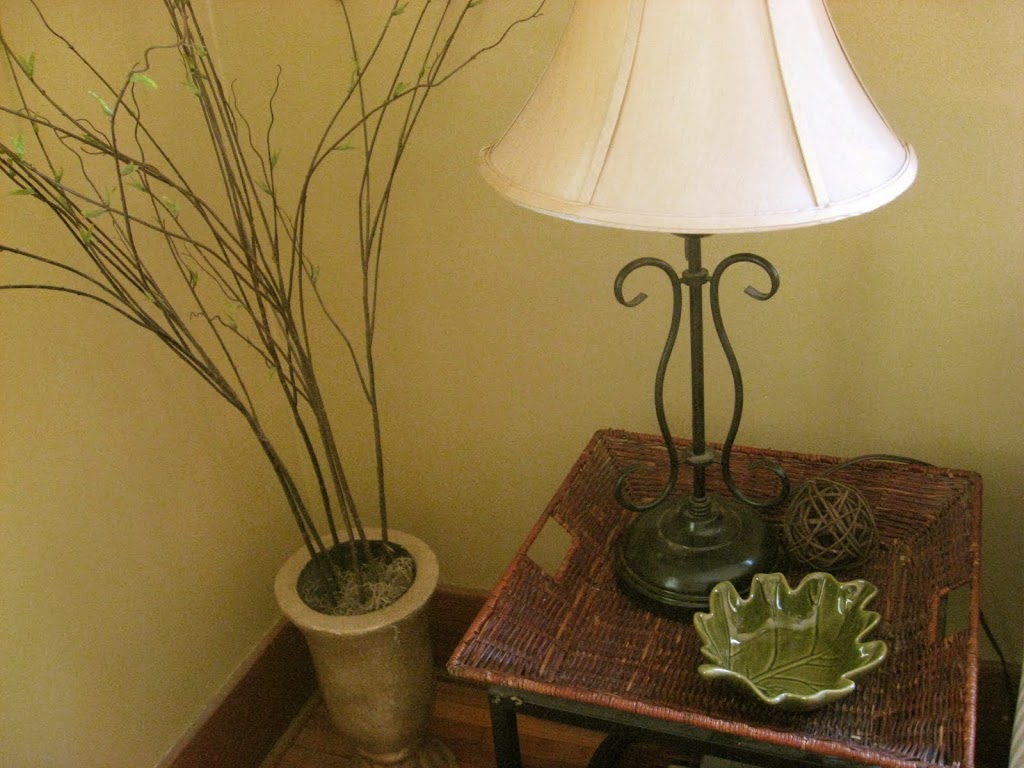
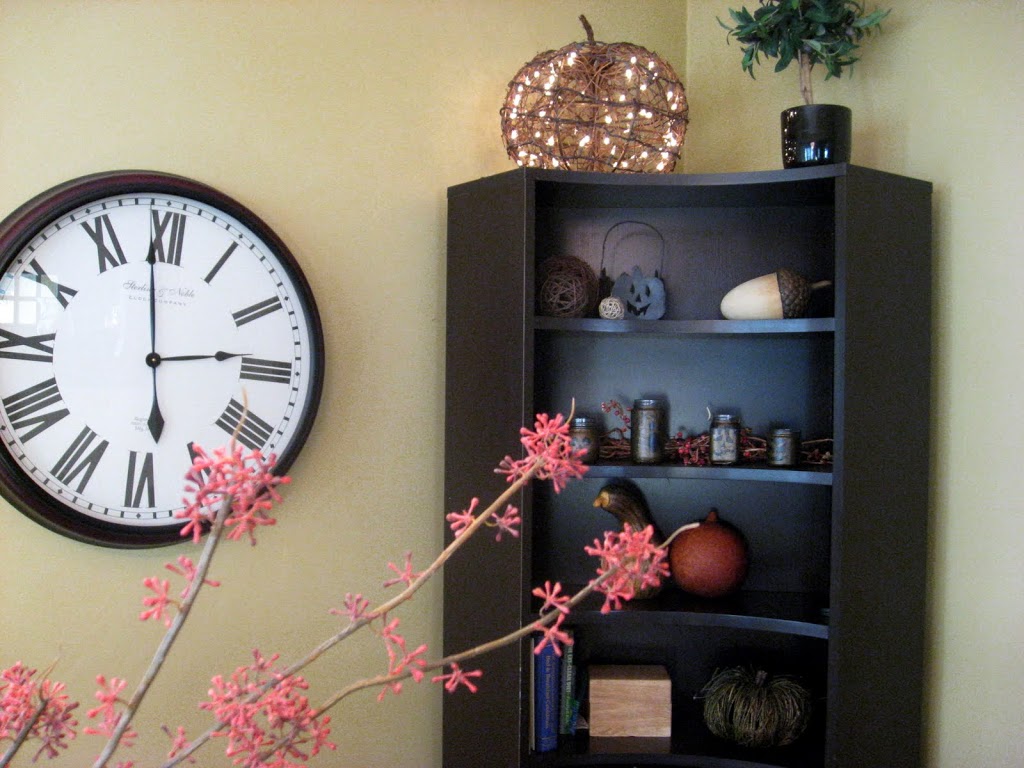
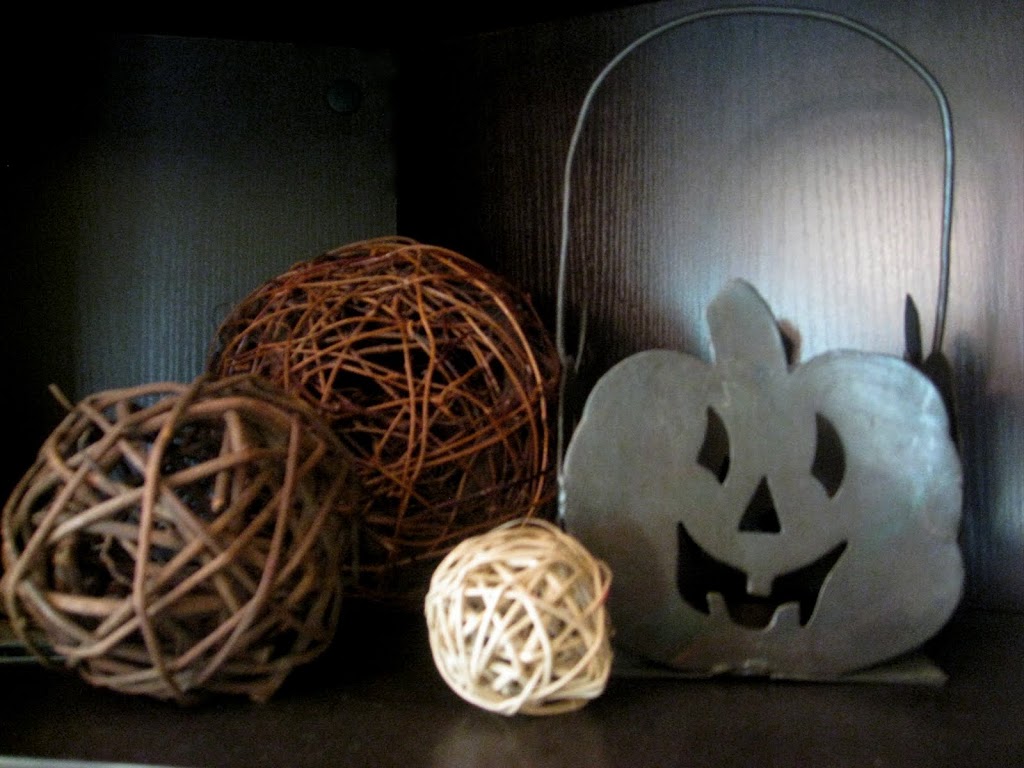
These pictures are all of my living room.  Just little fall touches here and there.  That leaf candy dish is from a dollar store, I like to fill it with nuts when guests are here.  You can find sprigs of fall berries
quite inexpensive at craft stores, they add a lot and keep year after year.

Throw pillows and magazines are two of my favorite ways to bring touches of the season into my home. This chair did have a red pillow with yellow circles on in, but it was just too bright and summery, so it got packed up with some other red touches I had in the living room, and replaced with this fall looking one instead. Magazines are great, use them to decorate!!  I love, love, love the cover of the Martha Stewart Living magazine this month!

On to the dining room. I didn’t get a picture of our dining room table, but it is a central location in our home, so  I always have a seasonal candle sitting on my table during the fall and winter months.
  We have one lit almost nightly, I even light them during the day when
I am the only one home!  I love candles!
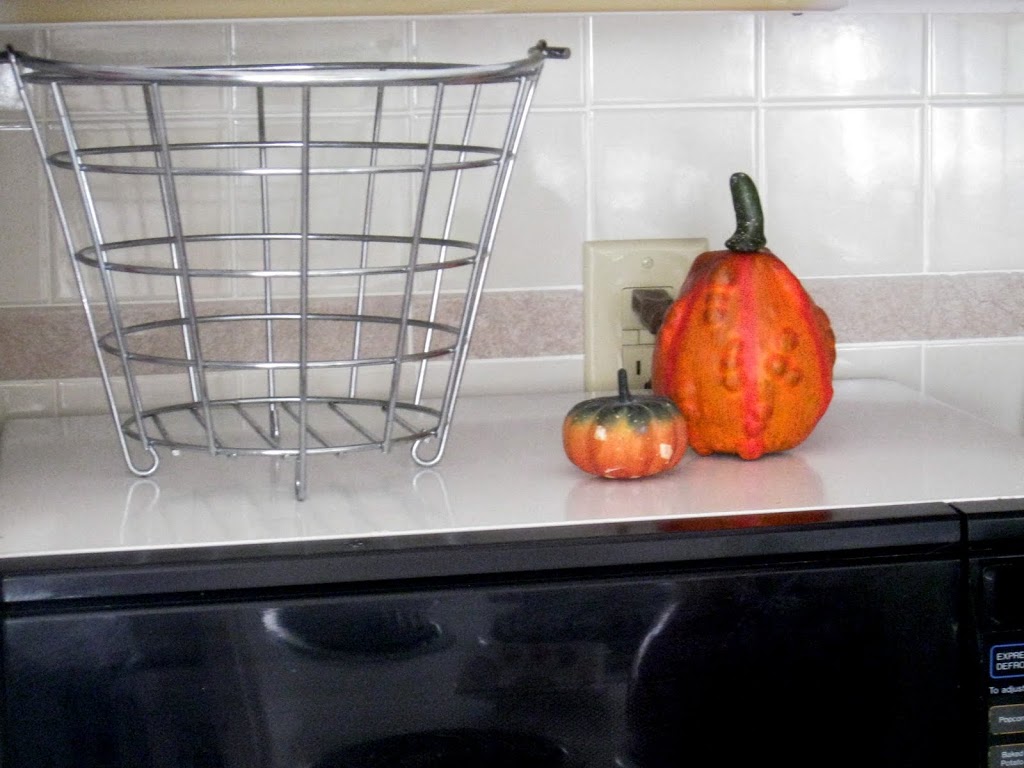
Kitchen-I don’t do much decorating here.  I like my kitchen simple and clutter free, so just a few fun things here and there.

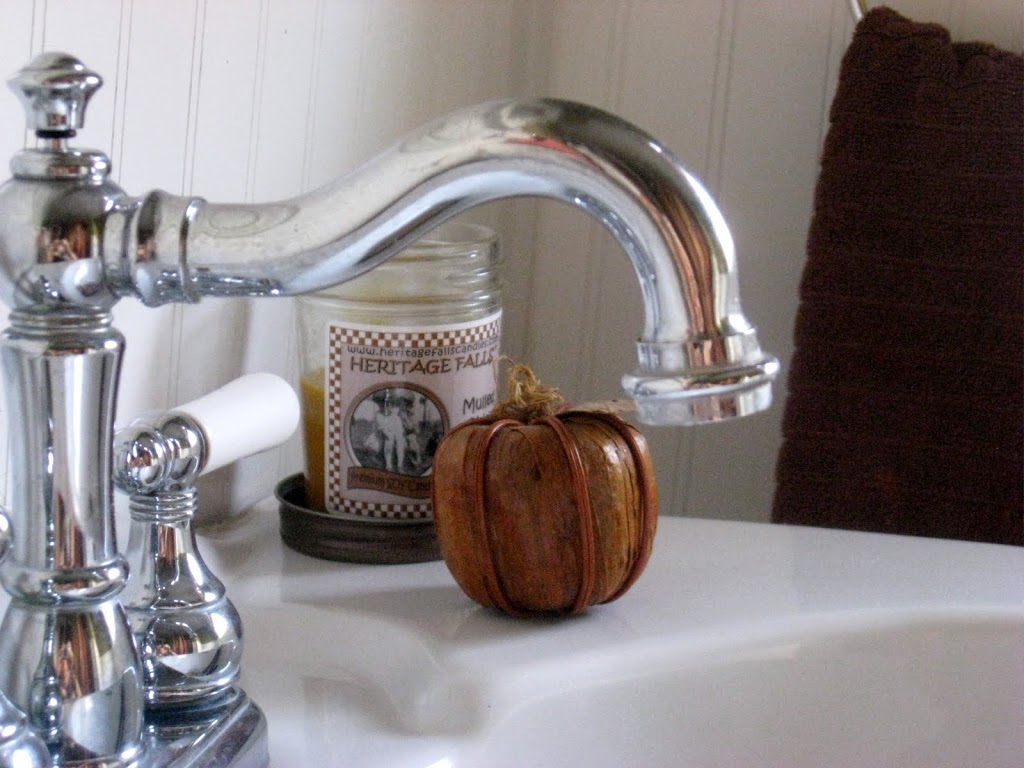
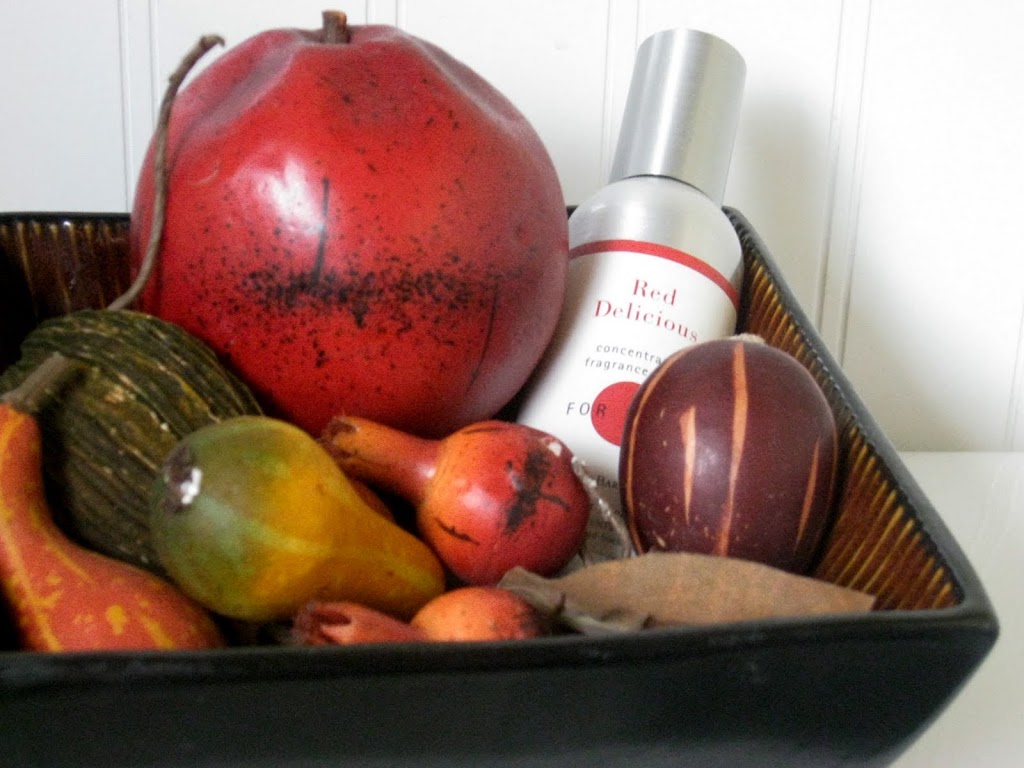
Lastly, you just can’t forget the bathroom!  This is another room I like to keep pretty simple (who wants to clean around a bunch of chotskies?)  This is another place I always have a candle burning when guest are over, and um, the back of the, um, ‘throne’ is a great place for potpourri and deodorizing spray.  This spray smells like Red Delicious Apples.  I hope it still smells delicious,
 it has been packed away since last fall!:)
So there you have it.  Simple fall decor…  a pumpkin here, some pine cones there, a couple of throws and pillows, a magazine or two, candles and…VOILA!  FALL!  It really did help warm up the feeling of my home, and compared to past years, I kept it pretty minimal.  Happy Fall!
Frugal/ HOME/ RECIPES/ Sweets

Homemade Popsicles

This morning, there was no fresh fruit in the house.  My girls are used to having some type of fruit with their breakfast, so I decided to make them fruit smoothies with some frozen fruit I had hanging out in the freezer.
My method of making fruit smoothies is pretty much dump and blend.  I fill my blender 2/3 full with frozen fruit, then add enough liquid (start with a cup and add as needed) so that it will blend easily and smoothly. I like mine thin enough so I can see a vortex when looking down into the blender, then I know it won’t get stuck in our straws!  I usually use water and a splash of orange juice.  I will add honey or sugar if the fruit is not very sweet, you won’t know until you taste a bit of the smoothie.  I like having frozen peach or frozen banana in our smoothies, they both add a nice texture/thickness, and are both less expensive then frozen berries.  If you were to use all berries, it would take a lot and would be costly.
This morning, I used a frozen fruit mix that had peaches, pineapple, grapes, and melon.  I also added frozen strawberries and blueberries.  We were running a bit behind, and I did not leave my girls enough time to slurp much of their smoothies down.  Because of this, I had a bunch leftover.

What to do with it??

Make homemade popsicles!!  The kids love these, they are so easy to make and MUCH less expensive then the whole fruit popsicles you can buy. These little plastic molds are great, but if you don’t have any, you can use a paper cup with a wooden craft stick. We made these all summer long, their favorite is when I add yogurt to the smoothie, which makes a creamy popsicle.
I will do a series on smoothies coming up. There are so many ways to make them: green smoothies, fruit smoothes, yogurt smoothies, protein smoothies, we even make healthy chocolate peanut butter smoothies and chocolate covered cherry smoothies. MMM-MM!  They are a staple in our home, a great way to have a healthy snack and to get those fruits and veggies in!!
Top