Browsing Category

Frugal

Decorating/ Frugal/ FUN/DIY/ Holidays/Parties/ HOME

Graduation Party Decoration Plan

Tis the season for graduation and graduation parties!  This year is a special one for us. My husband is programs director for an organization called City Impact.  He has the privilege of working with some pretty cool youth.  He has led a group of boys the last few years and 3 of those boys are graduating this year.  It has been amazing to watch them grow up into great young men who we know are going to make a difference in their community and in this world.

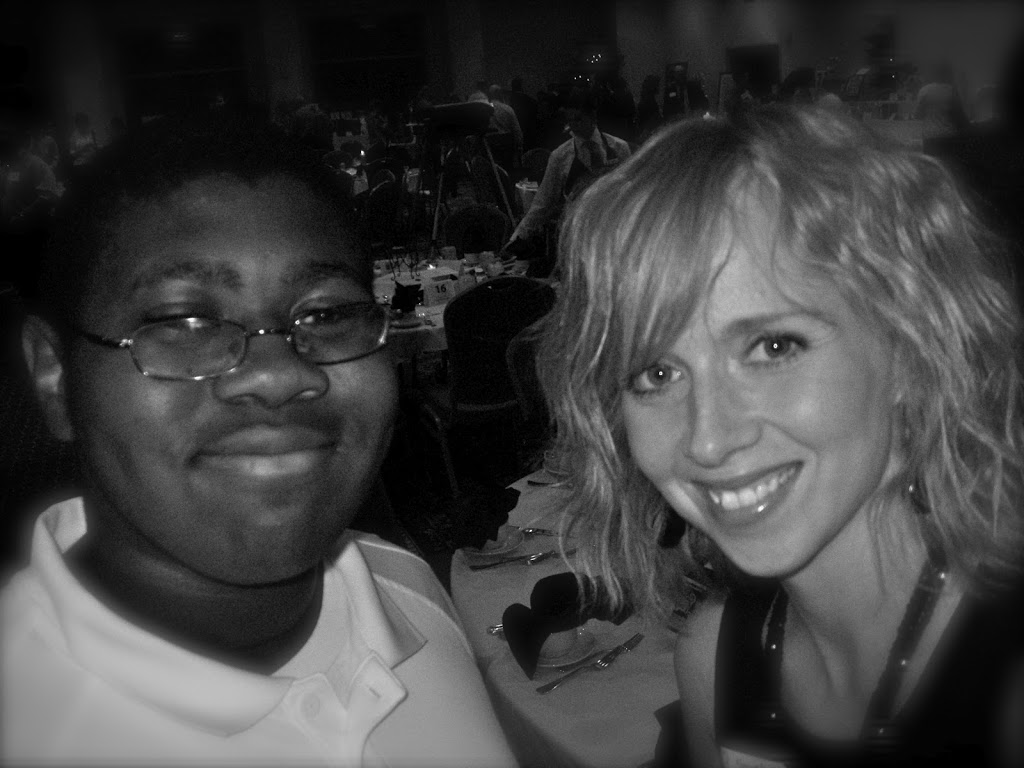
One of those guys is T.J.  We are super big T.J. fans around here. He just has a gentle way about him, he is kind and smart and his smile lights the room.  He has always been so great to my girls, he tops the list when they talk of all the “big brothers” they have.  T.J. and his family are super special to ours, so I was really excited to help decorate for his graduation party.

I love making social gatherings beautiful, and I really love challenging myself to do it in a simple way that doesn’t break the bank.

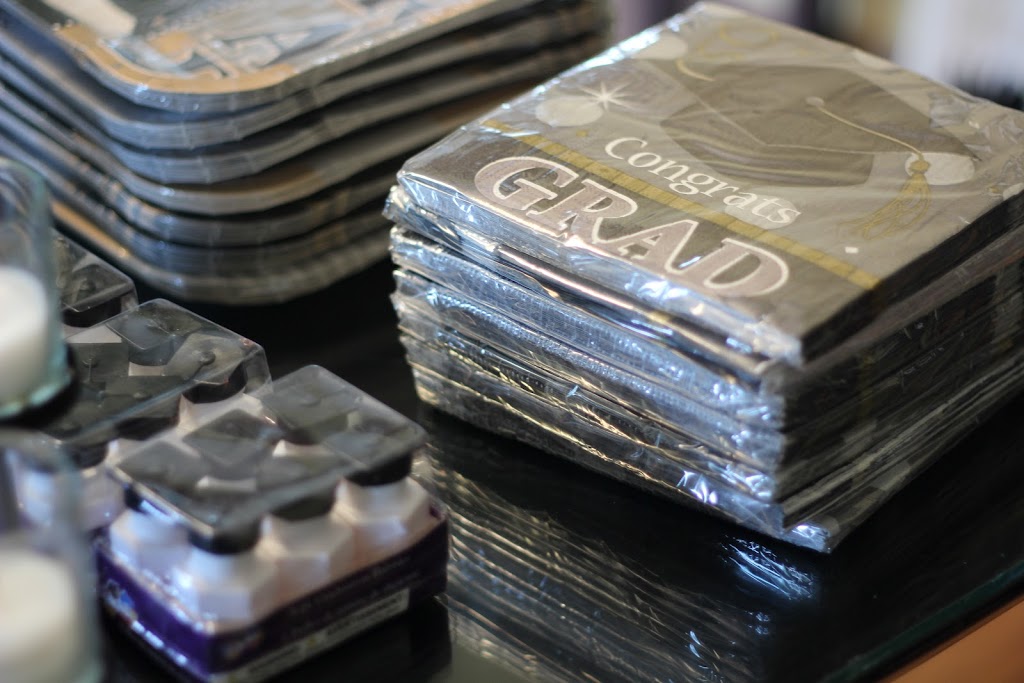
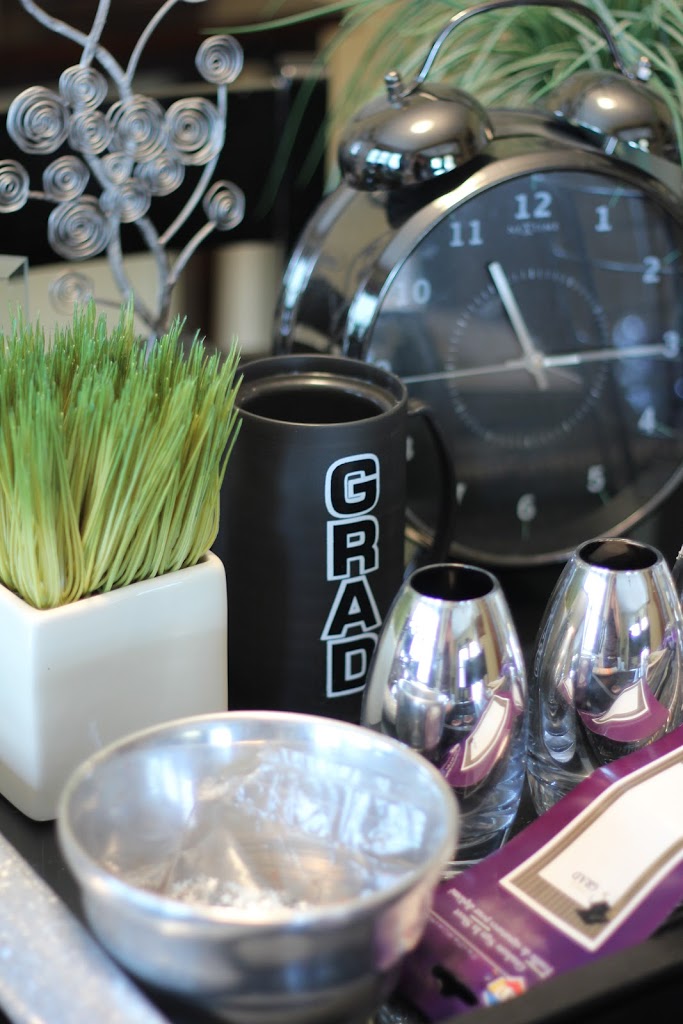
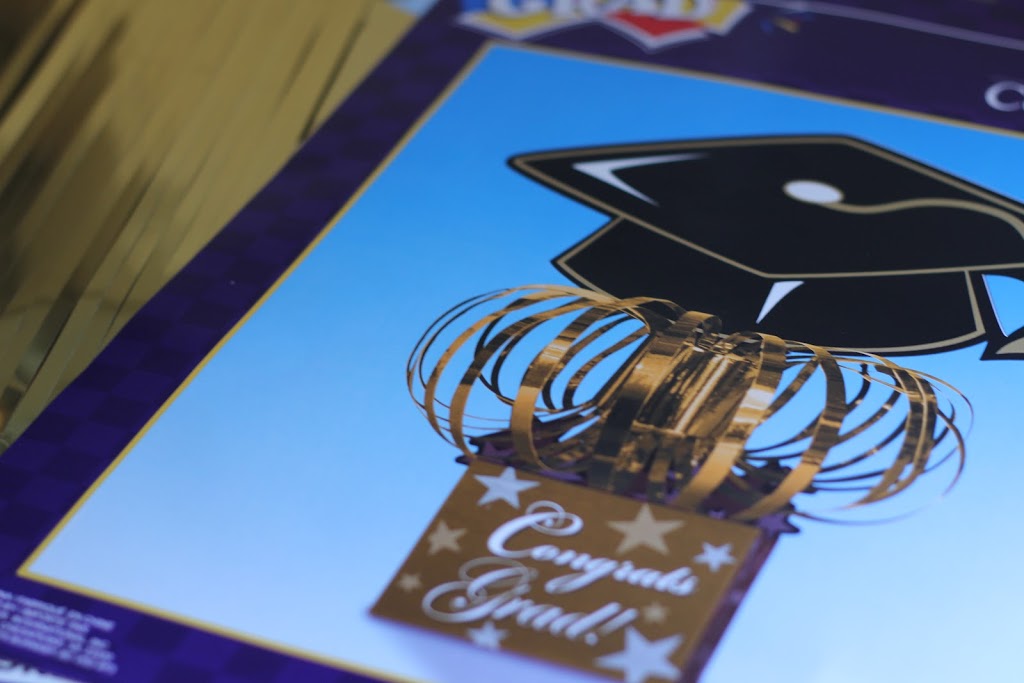
One of the first places I checked out was our local dollar store.  Working with T.J.’s mom and between the two of us, we were able to find all kinds of fun stuff there – from plates & napkins to a grad mug.  They even had a fun poster to be signed by all who enter the party.

{gathering my supplies}
T.J.’s school colors are black and white, so that was super easy to work with.  The decor we found at the dollar store had a bit of grey on it too, so working off that I decided to add bits of silver to add some shine to the party.

We will have 4 large round tables that I need a centerpiece for, and of course T.J.’s memorabilia table.  He is a football player and has been very active at school so I have lots to work with for that table.

The centerpieces we got at the dollar store came with gold tinsel.  I didn’t like how it looked and gold is not a color I wanted to add, so I bought some silver star tinsel and will work with that to make the centerpieces more what I want them to be.  

{not what I wanted}
{that is better}

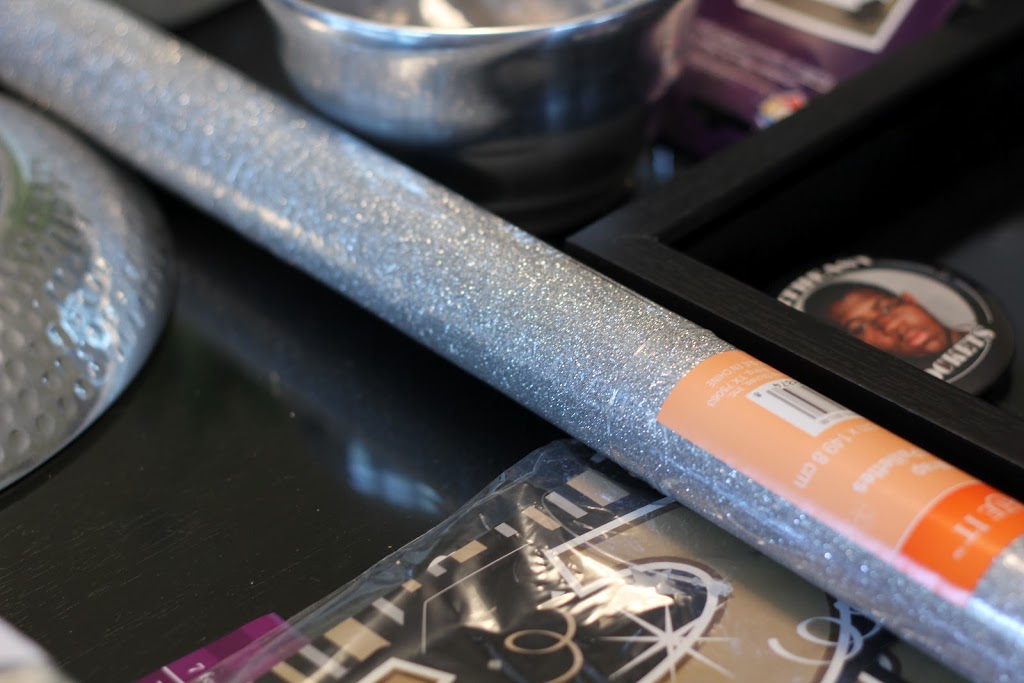
The venue that we will be having the party at provides black tablecloths, and I am putting a square of this awesome silver glitter wrapping paper I found at Michael’s Craft store in the center of each table, which will ground the centerpieces.

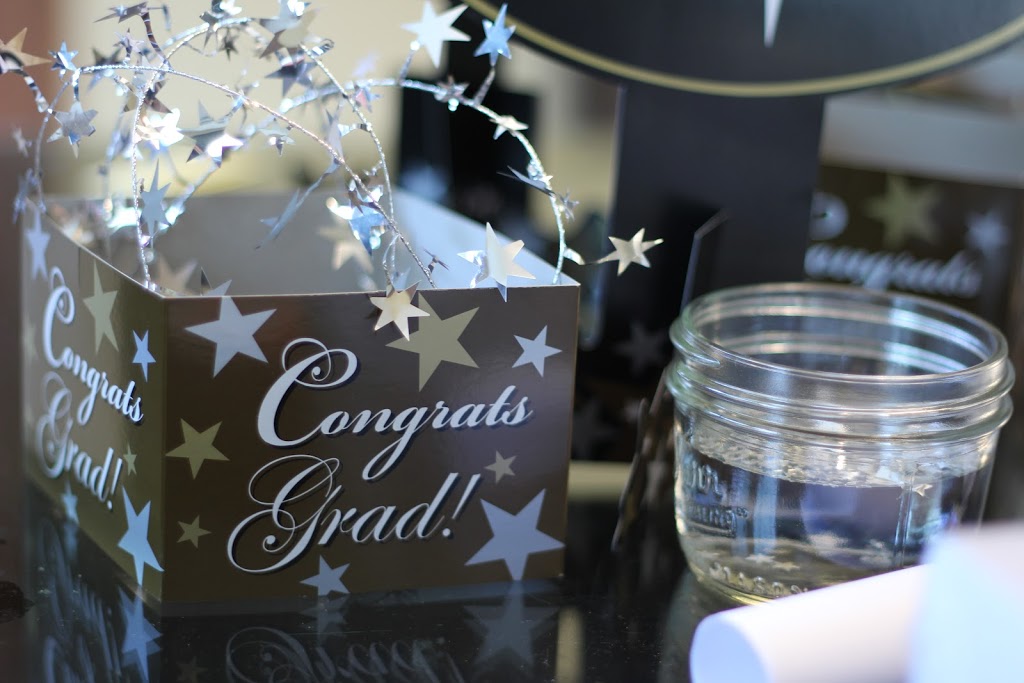
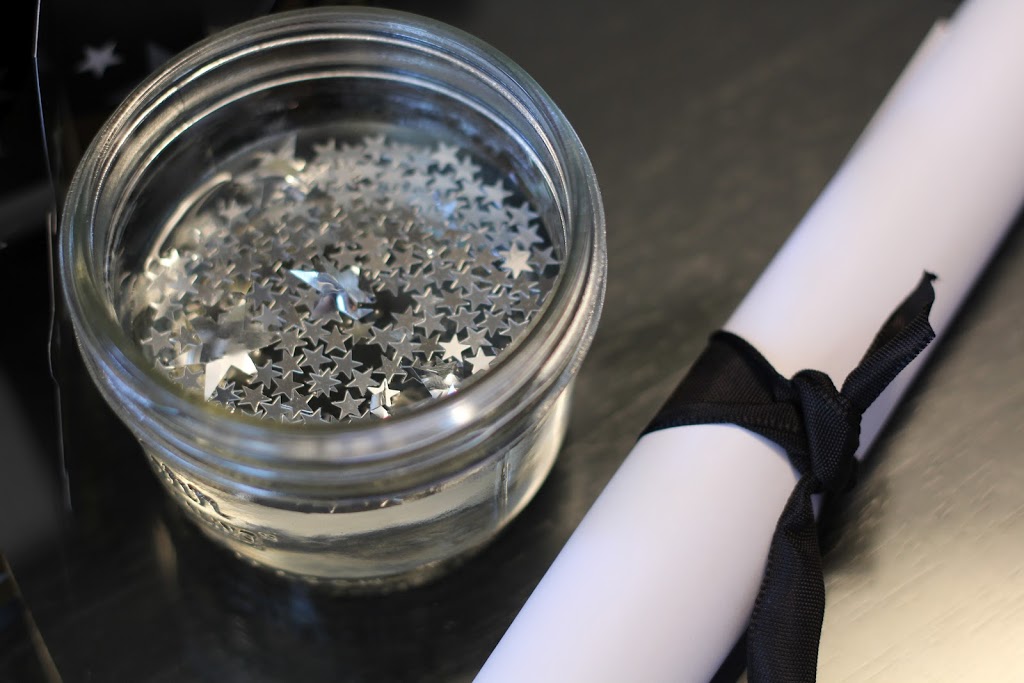
I am rolling up paper and tying black ribbon to make simple diplomas at each centerpiece.  We also will have small mason jars with water and silver star confetti floating in it, along with a candle.  T.J.’s mom found some black and white wrapped candy, so we will sprinkle that around each centerpiece for guests to help themselves to.  I hope it turn out as cool as it looks in my head.  I’m sure it will!

T.J. had some awesome poster sized photos of himself that we will place around, one on a mantle in the party room and a couple on easels.  No one will question who we are celebrating, that is for sure!


For his memorabilia table, I plan on flanking the back of the table with white and black helium balloons, like in this photo.  


I will take photos at the party and let you all know how it turned out!

Congrats, T.J.!  Thank you for letting me be part of your day.  We love you and are very proud of you!

Frugal/ HEALTH/ HOME/ Homemaking/ Natural Products/ Simplifying

Awesome Homemade All-Purpose Cleaner

If you read my post on Easy Homemade Glass Cleaner That Smells Awesome, you will know that I am on a Make-Your-Own kick when it comes to cleaners.  I am amazed at how easy, healthful, and inexpensive it is to make my own cleaners, and this Homemade All-Purpose Cleaner is my favorite so far.  I really feel like it has cleaning power, but I love that when I spray it I don’t have to hold my breath!  If anything it is the opposite.  It uses lemon essential oil that smells so fresh and clean that it almost makes me WANT to clean….almost.

I chose Lemon essential oil as my scent.  I LOVE any citrus scent.  I got mine at my local health food store, but next time I will be ordering it from Organic Mountain Rose Herbs, where the price is much better!

All Purpose Cleaner
1/2 tsp. washing soda
1/2 tsp. castille soap (I use Dr. Bronners)
2 cups hot water
20 drops essential oil of your choice
_____________
Combine and put into a spray bottle.

Why am I passionate about making my own cleaners?

~it is inexpensive
~they don’t contain harsh chemicals
~it is easy
~my daughters asthma instantly got better when we switched to organic cleaners
~I have history of cancer, twice, so the less chemicals my in my body the better
~it is eco friendly
~the ingredients used in one product can often be used in other products which makes it cost effective

Beauty/ Frugal/ HEALTH/ HOME/ How-Tos/ RECIPES

Homemade Organic Eye Makeup Remover–Only 2 Ingredients!

I have never really been one to use eye makeup remover.  I usually would just wash my face and slap on moisturizer, then use a tissue + whatever moisturizer was on my face to swipe away the smudges.  But, as I am getting older, I really want to be more gentle with the sensitive skin around my eyes, and scrubbing off smudges just is not gentle.

I was excited to have Pot Holes & Pantyhose link up her DIY Organic Eye Makeup Remover at Anti-Procrastination Tuesday.  It is a simple, 2- ingredient, super pure and healthy recipe.  I made it myself and I am loving it!  Not only does it remove my eye make up beautifully, but it moisturizes the fragile skin around my eyes with wonderful, gentle organic ingredients.  I LOVE IT!

I found this little bottle at my local heath food store.  Same with the Almond Oil.  I have been finding all kinds of fun DIY beauty recipes that I will be trying, so in the future I am planning on using Mountain Rose Herbs as my one stop shop for organic ingredients and containers.

Mountain Rose Herbs. A herbs, health and harmony c

They carry all kinds of essential oils and butters.  They also have almond oil.  They have a wonderful reputation, so I feel very confident sharing their store with you all!
________________

Homemade Organic Eye Makeup Remover
{recipe makes 3.5 ounces}

4 TBLS Organic Extra Virgin Olive Oil
3 TBLS Organic Almond Oil

Using a funnel, pour ingredients into a container of your choice.  Use a small amount on a tissue or cotton ball and wipe that makeup away!

_________________

Potholes and Pantyhose has the breakdown of the cost of this.  Let’s just say it is super cheap, especially compared to similar products in the store.  I am excited to have Almond Oil on hand as I am stumbling upon some great recipes that use it.  More to come!

Frugal/ HEALTH/ HOME/ Homemaking/ Natural Products

My Daughter’s Homemade Laundry Detergent Science Project


IMG_00061
Store Bought Vs. Homemade Laundry Detergent
 
My 5th Grade Science Experiment
 
{From Amy’s 5th Grade Daughter}
IMG_00161
Question:
Does Homemade laundry detergent work better than store-bought laundry detergent?
Hypotheses:
My Hypothesis is that the home made laundry detergent will work better than the store bought laundry detergent.
IMG_00181
Experiment
To Make Homemade Laundry Detergent:
1. I grated 1 bar of soap.
2. Then I brought 1 gallon of water to boil in a large pot.
3. Then, I put the grated soap into the pot, and stirred until dissolved.
4. I added once cup of Borax Powder and 1 cup of Washing Soda into the pot.
5. I turned the heat down and stirred until combined.
6. Once cooled, I stirred it again and put into containers.
 Materials
A large spoon, large pot, measuring cups, grater, containers to store detergent, labels, water, borax, powder, washing soda, bar of soap.
Constants:
1. Both shirts were stained with 3 stains.  Strawberry jelly, BBQ Sauce, and Spaghetti Sauce.
2. Both shirts were washed in hot water on the same washing cycle.
Variable:
The second shirt stain set longer, due to the amount of time the first shirt took to wash.
I washed the 2nd shirt in ‘All’ Clothes Detergent.
IMG_0038
Research:
According to Why Not Sew, the estimated cost is $6.00 for 576 loads.  That is quite the savings!
“Using a bar of Ivory soap makes our cloth diapers come out so white!  You’d think I’d bleached them.  They have no odors, no dinginess, just super bright whites.”–Pinterest Reader Who Used This Recipe
Conclusion
My hypothesis was wrong.  Store bought laundry detergent works just slightly better than homemade laundry detergent, at least on the stains.  Homemade laundry detergent seemed to make the shirt as a whole whiter, though.  My mom and I decided that due to the savings, and how easy it was to make, that we would continue to make our own homemade laundry detergent!
_____________

Recipe For Homemade Liquid Laundry Detergent
from Why Not Sew {click through for step by step pics}

1 bar of soap (any kind you want, I used Ivory)
1 cup of Borax
1 cup of washing soda
a big pot (that holds more than 2 gallons)
2 empty gallon jugs/containers

Grate your bar of soap into your pot.  Fill one gallon jug and pour water into pot with grated soap. Cook until the grated soap dissolves. Add the Borax and washing soda. Bring to a boil. It will coagulate. Turn off the heat. Add 1 gallon of cold water. Stir well. Pour 1 gallon of your detergent into each container.


Now you have 2 gallons of homemade laundry detergent. I use 1/2 cup per load. With the prices of detergent being outrageous, I feel really happy every time I make a batch of this.


This won’t make many, if any, suds. Suds don’t equal clean. It took a while to get that into my head. This detergent cleans wonderfully!


Hints From Why Not Sew:


* I now just keep my detergent in the pot I cook it in with the lid on. When I run out I make up a new batch in that pot and it’s ready to go. I like saving the step of transferring into the jugs.

*if the detergent becoming too thick, try using 1/2 of a bar of soap instead.


*the detergent should thicken / coagulate when it cools. Usually within 24 hours! 
 

More From New Nostalgia
Frugal/ FUN/DIY/ Holidays/Parties/ HOME/ Kids/Family/ Simplifying

A Super Simple Yet Special Birthday

That sweet little face is my middle girl back when she was 9.  Last week she turned 11!  Where or where has the time gone?
We usually budget in birthday parties for our 3 girls.  I love a good party and an excuse to have one.  We usually do not buy our kids birthday gifts, as grandparents are amazingly generous so our kids get plenty of gifts, and we consider a birthday party their gift.  This year, my little 11-year-old-to-be asked “Mom, if I save my money for a new Kindle Fire will you pay for half of it?”  I told her that we would, but we would have to use the money we usually set aside for a party.  She like this idea, she thought it was totally worth it.  She saved her money, and is LOVING her new Kindle Fire,
Her birthday was last week, and I wanted to do something to make her feel special on her day, despite not having a big birthday party.  At the end of the day, she said “Mom, this was one of the best birthdays ever.” Success!
Here is what her day entailed:
She woke up to a sea of pink balloons on her floor.  I was sneaky the night before and when I peaked in her room in the morning, she was laying in bed, hitting one pink balloon in the air with the biggest, best birthday girl smile on her face.  She loved it and just giggled at me. That was so worth the 2.00 dollars I spent on balloons and the fact that I almost passed out blowing them up!  I got this great idea from my Pinterest Parties Board. 
{source: Parents.com}

Once my birthday girl was up, she was greeted by her favorite breakfast.  We call it “Toad In A Hole”–so appetizing, huh?  It really is good.  I wanted to make it extra special so I made it pretty with a flower cookie cutter and sliced fruit. 
{our usual “toad in a hole”}

{flower cookie cutter} 
{special birthday breakkie!}

She loved her special breakfast.  She also loved that I had to pick her up early from school to take her to a quick doctor checkup for a knee injury that is now healed. He gave her a GREAT birthday gift, telling her she could participate in P.E.  After sitting out since October, this was awesome news. 

 I had some returns to make at the mall, so she came with, and as we walked by the soft pretzel stand at the mall we both took a whiff and of course had to get one!  Getting out of school early and a couple buck pretzel made her feel very special.

In the meantime, little sister got home from school and I left her instructions to frost some cupcakes that I had baked earlier.  I used the same mix cake mix and frosting mix that I use in my Gooey Caramel Chocolate Cupcakes.  I knew little sister would LOVE getting to help, and I also knew I would come home to cupcakes that would be drenched in decorating sugar.  I was right!


Little sister also took time to make super cute and creative homemade party hats.  Loved!

{my youngest, laughing at me wearing her hat creation while doing a birthday jig}

I sent a quick text to the neighbor girls mom, and she agreed to let her 2 girls come over for some birthday cupcakes and…

..a hot chocolate bar!  Another idea from Pinterest, but we kept ours very simple.  The girls had caramel candy sticks to stir their hot chocolate.  They melted quickly into the hot chocolate and gave it a caramel-ly flavor.  Fun!

{my oldest, enjoying her caramel stick}
I took a few balloons from the sea of pink in her bedroom and taped them on the wall.  I wanted to copy the below idea also found on Pinterest, but kept it simple instead.

{great idea from Martha Stewart.  Could put a dollar bill in each balloon!}

{my oldest, enjoying her cupcake}

It was great fun, and actually felt like a party even though it really was not, (not like our usual birthday parties) and my sweet girl felt very loved on her birthday.  It goes to show that simple, cheap touches are enough!

Frugal/ HOME/ Meals/ RECIPES

Homemade Taco Seasoning Mix & Taco Pizza

You will never have to buy over-priced, way-too-much-salt, sometimes ‘msg added’ taco seasoning packets again!  This taco seasoning mix is so easy to make and tastes really great!  I feel it gives a much richer, “homemade” flavor to every recipe I use it in.  I have used to season ground beef for tacos, nachos, & taco pizza.  I have used it to season refried beans, and to season lentils for vegetarian tacos. You can even use it to season chicken.

Taco Seasoning Mix

Recipe source-Allrecipes.com

Ingredients

  • 1 tablespoon chili powder
  • 1/4 teaspoon garlic powder
  • 1/4 teaspoon onion powder
  • 1/4 teaspoon crushed red pepper flakes
  • 1/4 teaspoon dried oregano
  • 1/2 teaspoon paprika
  • 1 1/2 teaspoons ground cumin
  • 1 teaspoon sea salt
  • 1 teaspoon black pepper

Directions

  1. In a small bowl, mix together chili powder, garlic powder, onion powder, red pepper flakes, oregano, paprika, cumin, salt and pepper. Store in an airtight container.

_________________________________

Here is the recipe quadrupled, to make a large batch.  Store in a mason jar. 🙂

  • 1/4 cup chili powder
  • 1 teaspoon garlic powder
  • 1 teaspoon onion powder
  • 1 teaspoon crushed red pepper flakes
  • 1 teaspoon dried oregano
  • 2 teaspoons paprika
  • 2 tablespoons ground cumin
  • 1 tablespoon and 1 teaspoon sea salt
  • 1 tablespoon and 1 teaspoon black pepper

____________________________


Hints:


~Use 3 teaspoons (more if want stronger flavor) per pound of meat.  Add 2/3 cup water and simmer down until water is absorbed.

~If you prefer, you could sprinkle 1/2 tablespoon of flour to help thicken sauce.  I find this is not necessary.

~Adjust salt and red pepper flakes to your taste.  I usually use a bit less of both.

~You could make a large batch and give away in small mason jars as a thoughtful gift.

~Buying seasonings in bulk is the way to go!  Amazon has some great deals, like McCormick Gourmet Collection Chili Powder.

Use the above link and I will receive a small percentage of what you spend.  Thanks!!


Taco Pizza No Recipe, Recipe

Premade pizza crust (we use premade dough from Trader Joes)
Pizza Sauce (we also get from Trader Joes)
Cheese
Ground Beef Seasoned with Taco Seasoning Mix (or beans or lentils)
Lettuce (we use spinach)
Tomato
Corn
Taco Sauce or Salsa
Corn Chips, crumbled

Top pizza crust with sauce, add cheese and meat (or beans).  Bake according to pizza crust directions.  Cool slightly.  Add toppings you prefer and serve with taco sauce or salsa!

Beauty/ Frugal/ HEALTH/ HOME

5 Reasons Why You Should Dry Brush Your Skin


Why Dry Brush

1. It softens the skin.  
I remember taking a facial class (I’m a cosmetologist), where the instructor had been an esthetician for 15 years.  She told us about dry brushing and had us each come up and feel the skin on her arm.  She was in her 50’s, but her skin was as soft as a babies butt!  I was amazed.  She gave all the credit to dry brushing daily.

2. It is a simplistic, inexpensive approach to healthier skin
I love that you can gain great results without expensive potions and treatments.

3. It stimulates the lymphatic system.
After my cancer treatment, I saw a physical therapist who did lymphatic drainage massage on me to help prevent lymphedema.  I was intrigued by how gently she massaged, sweeping soft strokes across my skin, all towards the heart.  This was my first experience with lymphatic massage and I was always amazed at how I needed to immediately use the restroom after lymphatic drainage massage.  My therapist said that was a great indication that she had done her job, stimulating lymph fluid to be released.  She suggested I dry brush at home, in the same manner, to continue to keep my lymph canals to drain properly, which is detoxifying to the body.

4. It helps with ingrown hairs.
No more razor burn bumps or ingrown hair bumps.  The combination of dry brushing and shaving with a good, natural soap was the answer for me.

5. It sloughs off dead skin.

I used to struggle with small bumps on the back of my arms and on my legs.  Not anymore.  Dry brushing and again, using a natural soap from my local health food store did the trick.  Makes me happy!

6. It feels good!
It is amazing how good it feels to dry brush skin.  Especially if you have itchy, dry skin. It is great early in the morning right before my shower..it helps wake me up!


 How To Dry Brush:

1. Purchase a natural bristle brush. Not synthetic.  Ideally with a long handle.

2. Perform dry brushing before your shower while dry and naked (or nudie, as my girls say)

3. Work in long, upward strokes toward the heart.

4. Use whatever pressure is most comfortable for you.

5. Avoid sensitive areas and anywhere the skin is broken

6. After dry brushing your skin, rinse off in the shower.

7. Don’t forget to wash your brush using soap and water once a week.  Hang to dry.

Top