I really can’t believe I finally got this done. I sure wish I took ‘before’ pictures! I’ve wanted a grey bathroom for awhile now. The paint color I had before was an awful brown/green color – blech!- and my shower curtain was small vertical stripes, in rusts & golds and greens, which I’ve had for over 12 years. This was a much needed & big change!
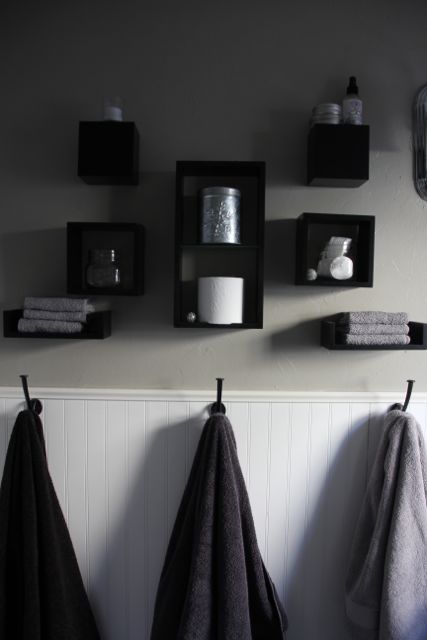
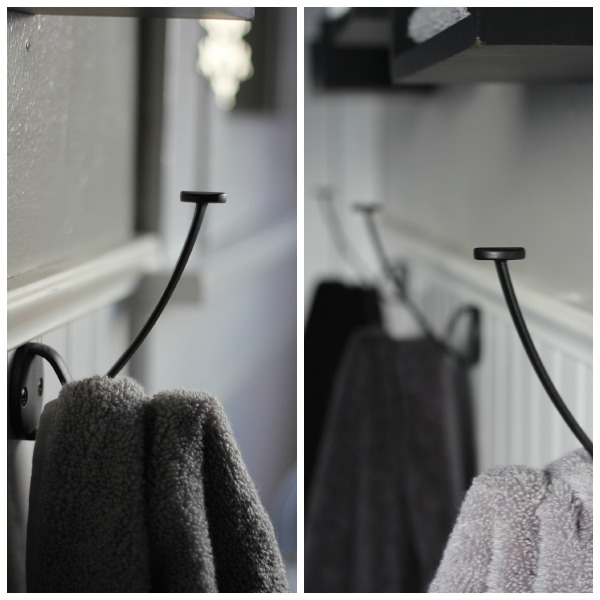
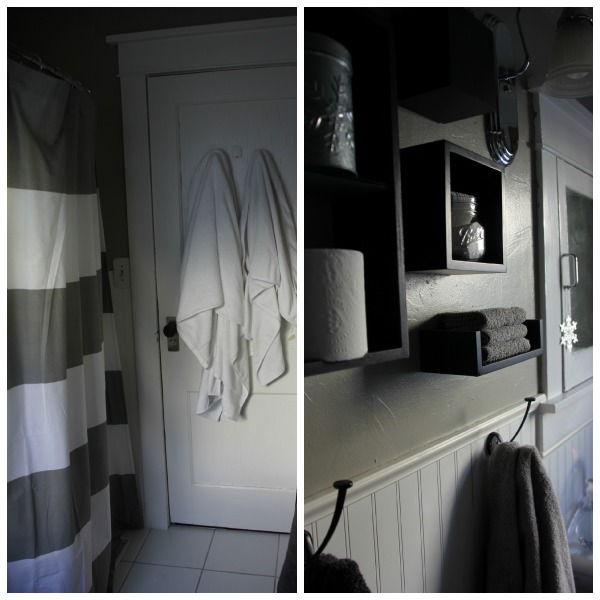
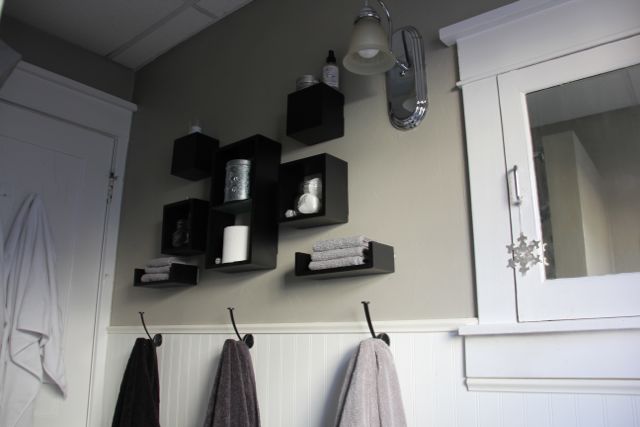
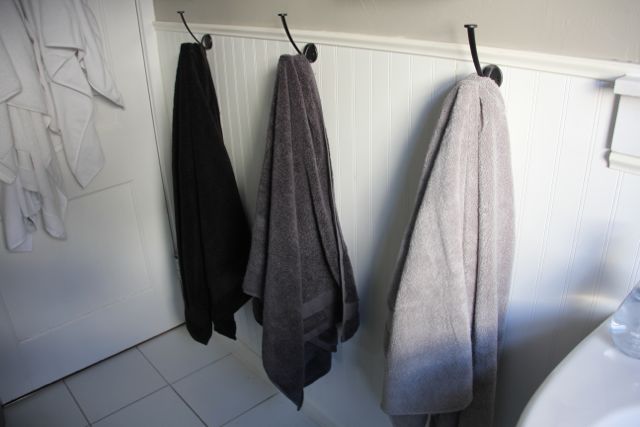
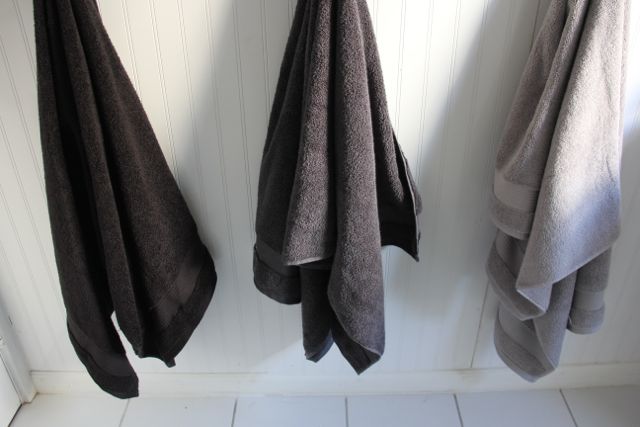
Besides wanting to get rid of the prior green/brown paint color, what motivated me to do this was the never-ending loads of towels I was doing with 3 girls in my house! We had one towel bar for 5 people–not good. Not anymore. Each girl has their own hook and their own color of towel. If their towel is not put back o the hook and they need one, they drip dry…no joke! This Mama is serious about cutting down on laundry! There are 2 more hooks on the back of the bathroom door for Mom & Dad’s towels. Our towels are white. Nice, fluffy, spa-like white. Ahhh. It has worked beautifully and I don’t know why I have not done this sooner!
I also was motivated by really wanting a new shower curtain. I had the old one for over 12 years, so it was time! I love this simple, horizontal striped shower curtain.
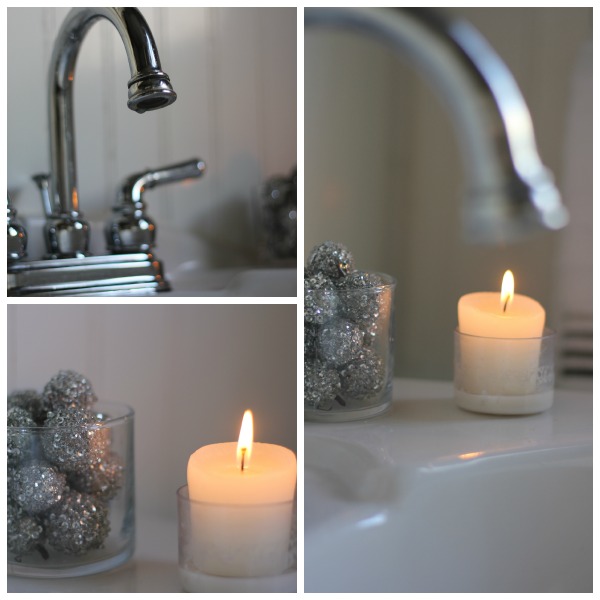
I added a few minimal holiday touches. A little touch of sparkle. I always have a candle in there, even when it is not Christmastime.
I think every room needs a touch of natural green, and these succulents on the back of the ‘throne’ were just the thing. They are super low maintenance. The clock was given to me by a friend–when I stand in front of my mirror, the time is reflected which is super helpful on late mornings.

The black display boxes on the wall have been a great addition to our bathroom. Ball jars hold cotton & q-tips. I have room deodorant spray on the top shelf, another candle, a Christmas tin for pretty storage, & shelves for wash clothes. I LOVE having a space for an extra roll of toilet paper. It is noticeable when the shelf is empty, and I can refill it when I notice it. Sure beats hearing “MOM, I NEED SOME TP!!” which was the case WAY too often before. I got a great deal on these shelves on black Friday…they were only 9 dollars!
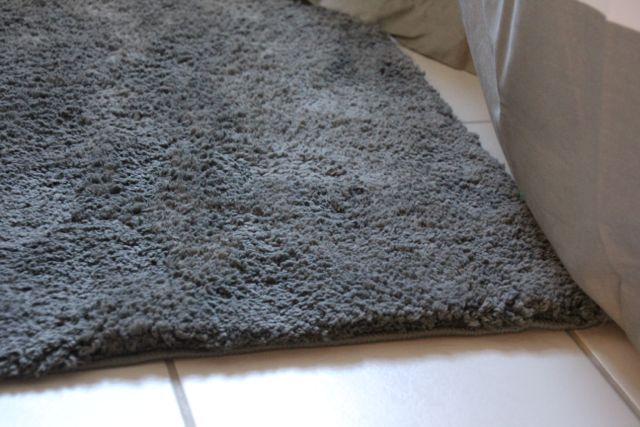
I really, really like our new rug. It feels so lovely on our feet & covers a crack in our tile which used to drive me nuts!
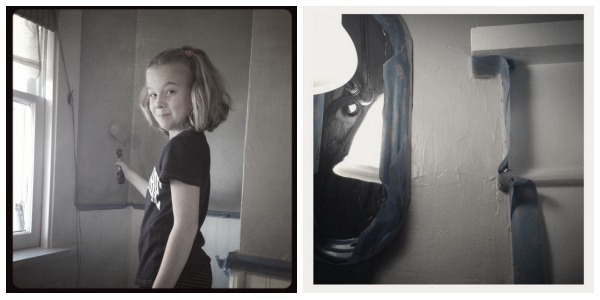
I had a very willing little helper. It only took about 2 hours to paint the bathroom…one hour per day/coat. Easy! Why oh WHY do I procrastinate. It feels so, so good to have this done.
//
Paint-Sherwin Williams Intellectual Grey ($40)
Towels-Bed Bath & Beyond ($8 each)
Shower Curtain-West Elm ($40)
Black Shelves-Shopko ($9)
Hooks-Target ($7 each)
Rug-Target ($20)
Washcloths-Target ($5)
Clock-gift (free)
Planters-garage sale ($3)
Plants-Walgreens ($5 each)
= about $175.00
Not bad for a bathroom makeover! I love my new bathroom. I kinda want to go just sit in it now…
🙂


