I make this simple homemade 2 ingredient lemon sugar facial scrub about once a week. It is so easy to throw together, and it leaves my skin very soft, smooth, & exfoliated.
Start by juicing a half of a lemon. I like to use the lemons in my refrigerator that are on the verge of being too ripe to eat. This is a great way to use those lemons up!

AN EASY WAY TO JUICE YOUR LEMON
Don’t underestimate the power of a simple fork! I have several fancy lemon squeezing gadgets, but when I am just doing a lemon half, I grab a fork. It is amazing how much juice a simple fork can extract! Just stick it in the lemon half and give it a twist while squeezing the lemon with the other hand. Rotate the lemon and repeat.
It is amazing how much juice a simple fork can extract! Just stick it in the lemon half and give it a twist while squeezing the lemon with the other hand. Rotate the lemon and repeat.
This lemon facial scrub has organic sugar and organic lemon juice in it. That is it! I squeeze 1/2 a lemon right into the jar, add about 1/8-1/4 cup of organic sugar and stir.
I like to use organic pure cane sugar. Regular white sugar has been bleached and I don’t want that in my body or on my face!
This makes enough for several applications, but in time the sugar dissolves, so I usually let my girls know that I have homemade lemon facial sugar scrub. I’ve been making this since they were young and loved doing “facials” with it.
I remember when they were little they would end up putting lots around their lips so they could lick it off. Tastes just like lemonade!
It is delicious and ends up being a great lip scrub, too! You could also take leftovers in the bath with you for a great body scrub.

HOW TO USE LEMON SUGAR FACIAL SCRUB
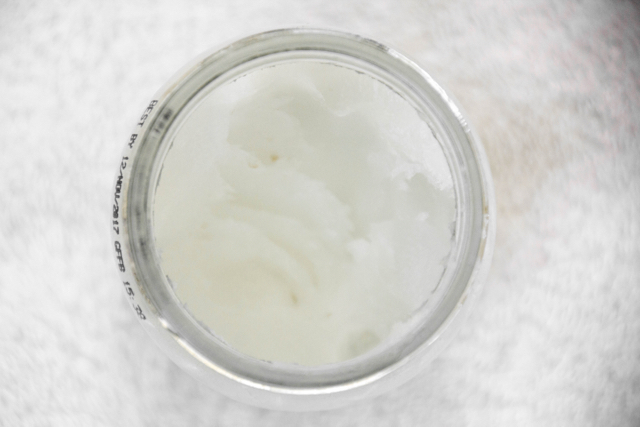
I put some of the mixture into my palm, and rub in circular motions all over my face. It feels so good! I love a good scrub! I then let it sit on my skin a few minutes until it gets sticky and feels a bit hard. Then I get a washcloth nice and hot and just lay it on my face for a few seconds. The steam opens the pores and softens the sugar mixture. I then wipe off and rinse well. I will often follow with a dab of coconut oil for moisture.
ATTENTION: My Essential Oil Recipe Blend Recipe Cards is part of the Herbs and Essential Oils Bundle! It is a super short sale so hurry! So much is included… 38 eBooks, eCourses, printables, and a membership site designed to help you use easy and effective natural remedies.
97% off! Click here to purchase and watch a short video all about it!


I let it sit on my skin a few minutes until it gets sticky and feels a bit hard. Then I get a wet microfiber facial washcloth — nice and hot — and just lay it on my face for a few seconds. The steam opens the pores and softens the sugar mixture. I then wipe off and rinse well. I follow with moisturizer.
Lemons do have a lightening quality about them and I notice it has faded sun damage that I have on my forehead. It is also great for breakouts. It seems to really help with blackheads and just clearing the junk out of my pores. I love it!

2 INGREDIENT LEMON SUGAR FACIAL SCRUB
1/2 organic lemon
1/8-1/4 cup organic sugar
Juice 1/2 lemon using a fork into a mason jar. Add the organic sugar and stir. Apply to face in circular motions and gently allow the sugar to scrub your skin. Let sit for a few minutes. Use a hot washcloth (I love a microfiber facial cloth–it is great for gently wiping away smudged mascara under the eyes) and lay on the face to steam for a minute, then use it to wipe of scrub. Rinse well & moisturize. Use the lemon sugar facial scrub once a week.

{For Your Pinning Pleasure}
You might also like:
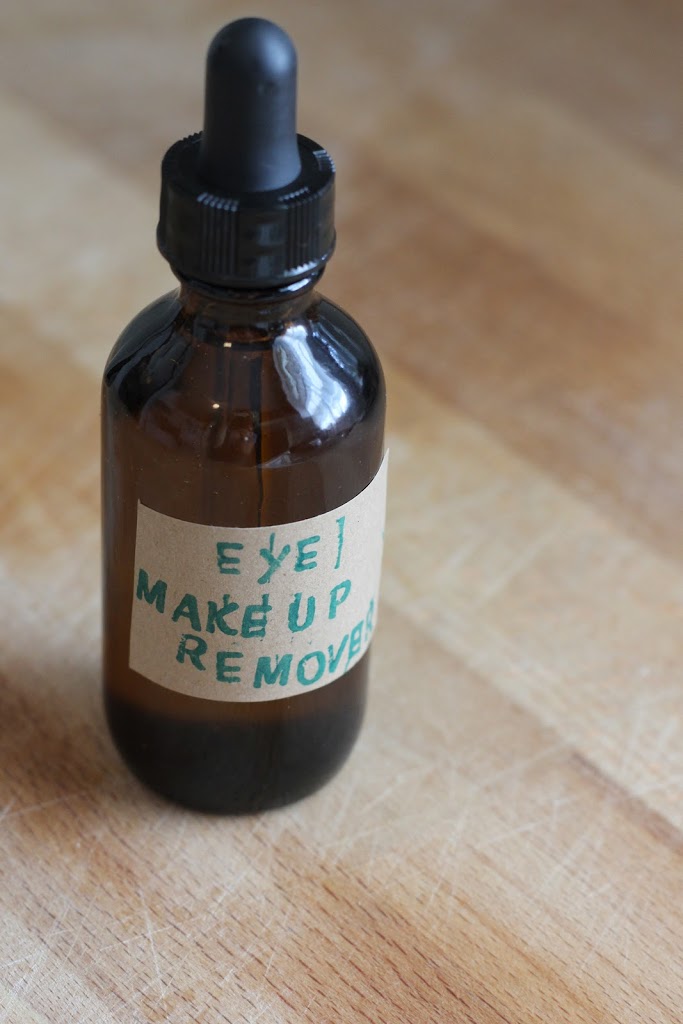
Homemade Organic Eye Makeup Remover
Homemade Face Moisturizer
100% Natural Oil Cleansing Method
My Favorite Pre-Shave & Post Shave For The Softest Legs