Browsing Tag:

chips

GF, Vegan & Raw/ RECIPES/ Sides

Raw Corn Chips – Jalapeno Style

Raw-Corn-Chips

by Teniel Moore–Raw Foods Contributor

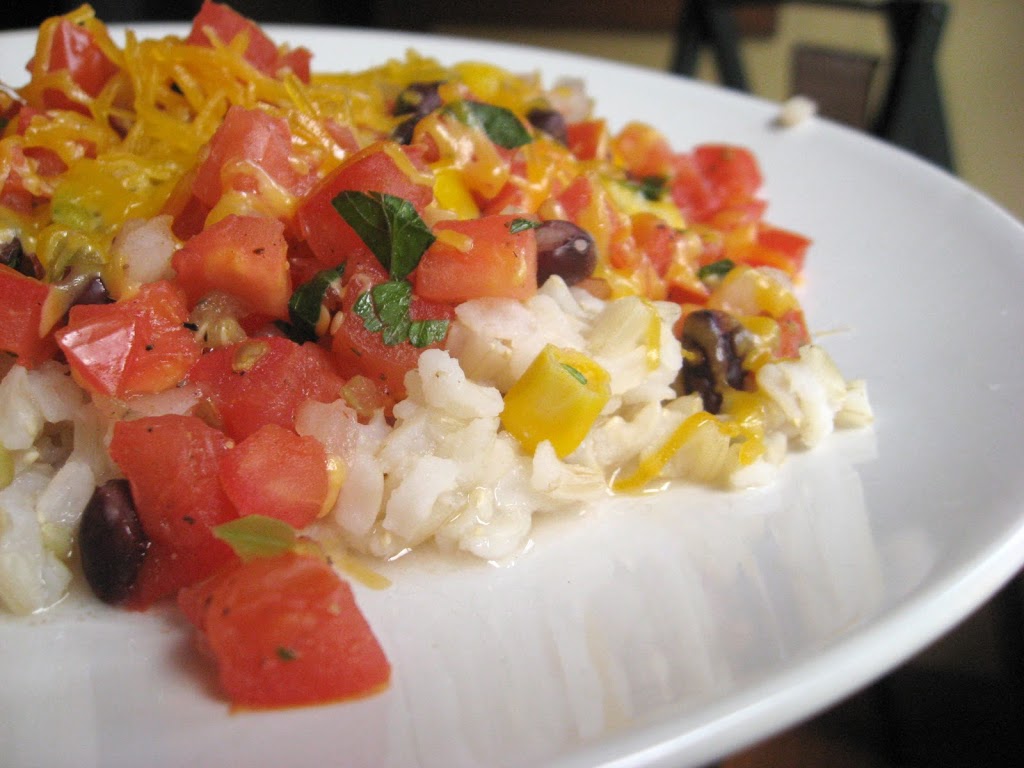
I’m not going to lie. I love to snack on something crunchy…and I don’t mean a cucumber! Sometimes you just want that savory chip that you can eat on its own or dip into something delicious like — fresh salsa.

So for those of you like me that want to enjoy chips during this after-holiday season and want something that contains few whole ingredients then this recipe is for you.

* This recipe does require a dehydrator – I use an excalibur 9 tray

Ingredients:

5 cups of organic corn
1/2 cup of golden flax
Himalayan salt to taste
Jalapeno – as much as you like. I use half a small slice (optional)
Juice of a lime
1/2 yellow onion
Water
Garlic (optional)
Coriander (optional)TIP: I only ever buy organic corn to avoid GMO’s. Its foreign to our bodies and so our poor body does not now how to deal with it. This can lead to all sorts of problems down the track. So always look for foods that are non GMO. I also try to limit my corn intake even when its organic, as sometimes it can be hard on the digestive system.But once in a while its a yummy treat and we all need to have balance in our diets. Right?


Instructions:

Whiz the corn first in a high-speed blender.  It will probably need some water to get it going. Add water as you need it.
Then add onion and other things like lime juice. Give it a really good mix in the blender so it’s all smooth. At least a minute in the vitamix.It should be like a paste sort of consistency. You need to spread on the dehydrator sheet quite thin & score into corn chip size triangles, dehydrate for about 4 hours then peel it off the sheet and cook it for another 16 hours or so until it Is dry.
Store in an air tight container & enjoy with some guacamole or salsa.

—————-
So get dehydrating so you can be snacking on some wholesome corn chips as a great post-holiday snack!

Teniel-Veggies-Resized

Teniel Moore of Addicted To Raw

Raw Foods Contributor
Healthy Eating/ RECIPES/ Sides

Favorite Cheezy Kale Chips


Cheesy kale chips

Kale is a leafy green that I try to get into my body at least every other day.  It is the most nutrient dense leafy green and is full of all kinds of cancer fighting phytonutrients.  I use baby kale in my salads & green smoothies, but my favorite way to eat kale is to make kale chips.
I have been making this recipe like crazy lately, and find myself eating the entire pan by myself!  It is a great way to get a large amount of nutrients into the body, and at the same time satisfy any cravings for a salty, cheesy, crispy, crunchy snack.
I LOVE KALE CHIPS!
Here is my favorite way to prepare them:
Olive oil drizzed on baking sheet

Drizzle a little olive oil onto baking sheet.  Use pastry brush to spread out evenly.

Washing kale

Wash kale.  There are 2 types.  Curly & Lacinato.  I like to use lacinato, which is this large, flat type.  If you use curly kale, you can use this same recipe but just toss in a bowl with tongs to coat.

De-veining kale by taking stem out of the middle.

De-vein kale by taking out the tough stem that is in the middle.  It is bitter so make sure to remove it.  I just tear it with my hands.

Tearing kale into pieces.

Tear kale into pieces…or not.  Whatever shape and size you desire.

Trader Joe's ingredients including olive oil and soy sauce

Have ingredients ready.  You will need olive oil, soy sauce (or tamari), any type of grill seasoning, pepper, & nutritional yeast (or Parmesan cheese for non-vegans).

Olive oil over washed kale

Drizzle about a tablespoon of olive oil over washed kale.  Can use a pastry brush to coat…I just use my fingers!

Soy sauce on kale.
Then drizzle with a 1/2 tablespoon – 1 tablespoon of soy sauce.  Use pastry brush or fingers to coat leaves.
Nutritional yeast on kale leaves.

Sprinkle with nutritional yeast (or parm cheese) until coated to your liking.  I use about 2-3 tablespoons for this batch.  I just eyeball it.

Grill seasoning on kale chips
Add about a teaspoon of grill seasoning –or any seasoning you like.  Curry is good, Italian seasoning is good, but my fav is Trader Joes 21 Seasoning Salute.  I used about half of what is in my palm in the pic.
Cheesy kale chips

After adding seasoning, use the pastry brush or your fingers to spread all together onto the leaves.  Basically you are just wetting the seasonings with the oil and soy sauce.  Nothing fancy, it does not need to be perfect.

Baked cheesy kale chips
Bake at 250 degrees for 15-20 minutes or until crispy.  Watch closely.  The time between crispy and burnt is just a couple minutes.  I can usually tell when it is done by my nose.  It smells really yummy when it is crisped up and done. If it is crispy, it is done.  Break into pieces and enjoy.  Can also crumble and use on soups and to top salads.
————————————
Process of making cheezy kale chips.
          ——————————-

Cheezy Kale Chips
3-4 large kale leaves
2-3 tablespoons olive oil
1/2-1 tablespoons soy sauce (or tamari)
2-3 tablespoons nutritional yeast or Parmesan cheese
1/2-1 tsp grill seasoning
pepper to taste
Wash kale leaves.  Take large vein out of center of kale.  Spread about 1 tablespoon olive oil onto pan. Lay kale leaves down on pan in single layer.  Drizzle remaining olive oil onto kale, just enough to coat each leaf.  Use pastry brush or fingers to spread onto leaves.  Do the same with the soy sauce. Sprinkle with nutritional yeast or Parmesan cheese.  Sprinkle with seasoning and pepper, then spread seasonings into the oil and sauce using your fingers or pastry brush.  Bake 250 degrees or 15-20 minutes or until crispy.
——————–
Have you ever made kale chips?
What are your favorite seasonings?
RECIPES/ Sides

Bean & Corn Salsa With Rice, Cheese & Chips To Dip

My friend, Traci, came to visit a few weeks ago.  She didn’t want me to have to make lunch, so she brought along an awesome lunch of brown rice, homemade bean and corn salsa, some cheese and tortilla dipping chips.  It was the most delicious, filling and simple lunch!  I loved it.  I knew after my first bite that I would want to share it with you all, so I grabbed my camera and took the picture above.
The salsa has amazing flavor.  I am not a cilantro fan, so I was excited to see that this recipe used parsley instead.  The lime juice and sweet onion were key ingredients for me.  
We have been trying to eat less red meat around here, adding at least one non-meat meal a week.  This recipe is the perfect way to get some fiber, veggies, and protein from the cheese and beans.  If you wanted more protein, a side of grilled chicken would be perfect, you could serve it on a bed of rice with the salsa on top–pretty! I’ve been thinking about this recipe ever since I tried it and can’t wait to make it for my family!
Bean & Corn Salsa
3c. chopped seeded tomato  (4-5 Roma)
1/2c. chopped Vidalia or other sweet onion
1/2c. chopped tomatillos (about 2 med.)
1/4c. canned black beans, rinsed and drained (I like 1/2c.)
1/4c. fresh corn kernels (I just throw frozen kernels straight in – I like 1/2c.)
2T. finely chopped fresh parsley
2T. fresh lime juice (1 med. lime)
1/2t. salt
1/2t. pepper
1/2t. hot sauce

Combine; cover and chill for at least 2 hours. I usually make the night before. Of course, I like mine put over Rice with a little cheese heated up in the microwave and then served with tortilla chips! 


If you have never cooked with a tomatillo, what you need to look for at the store are tomatillos with green (not brown) papery skin, and firm flesh–no soft spots.  The paper skin peels right off,(lil’ cutie shows you how in the first video below) and you can eat them raw or you can roast them, then blend them up into a green salsa (second video below).  When eaten raw, they are firm and have a bit of a tart taste, which is perfect for the Bean & Corn Salsa recipe above.  Roasting makes them smokey and soft.


Top